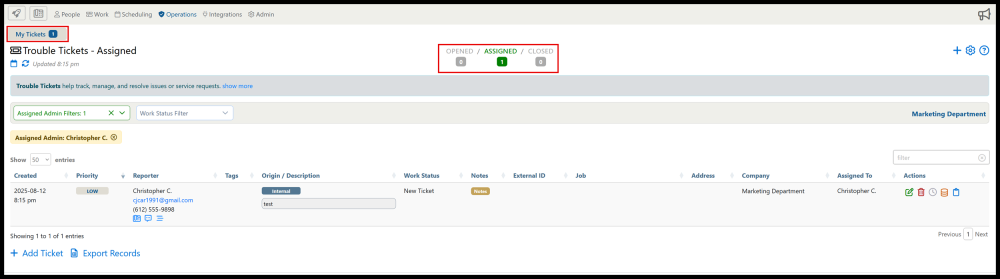
Viewing Tickets
Use the Trouble Tickets page when you need to understand what has been reported, decide who should handle it, and make sure the request is actually resolved. This page is especially important for Action Point QR code requests because someone in the field may have submitted the request without talking to an admin first.
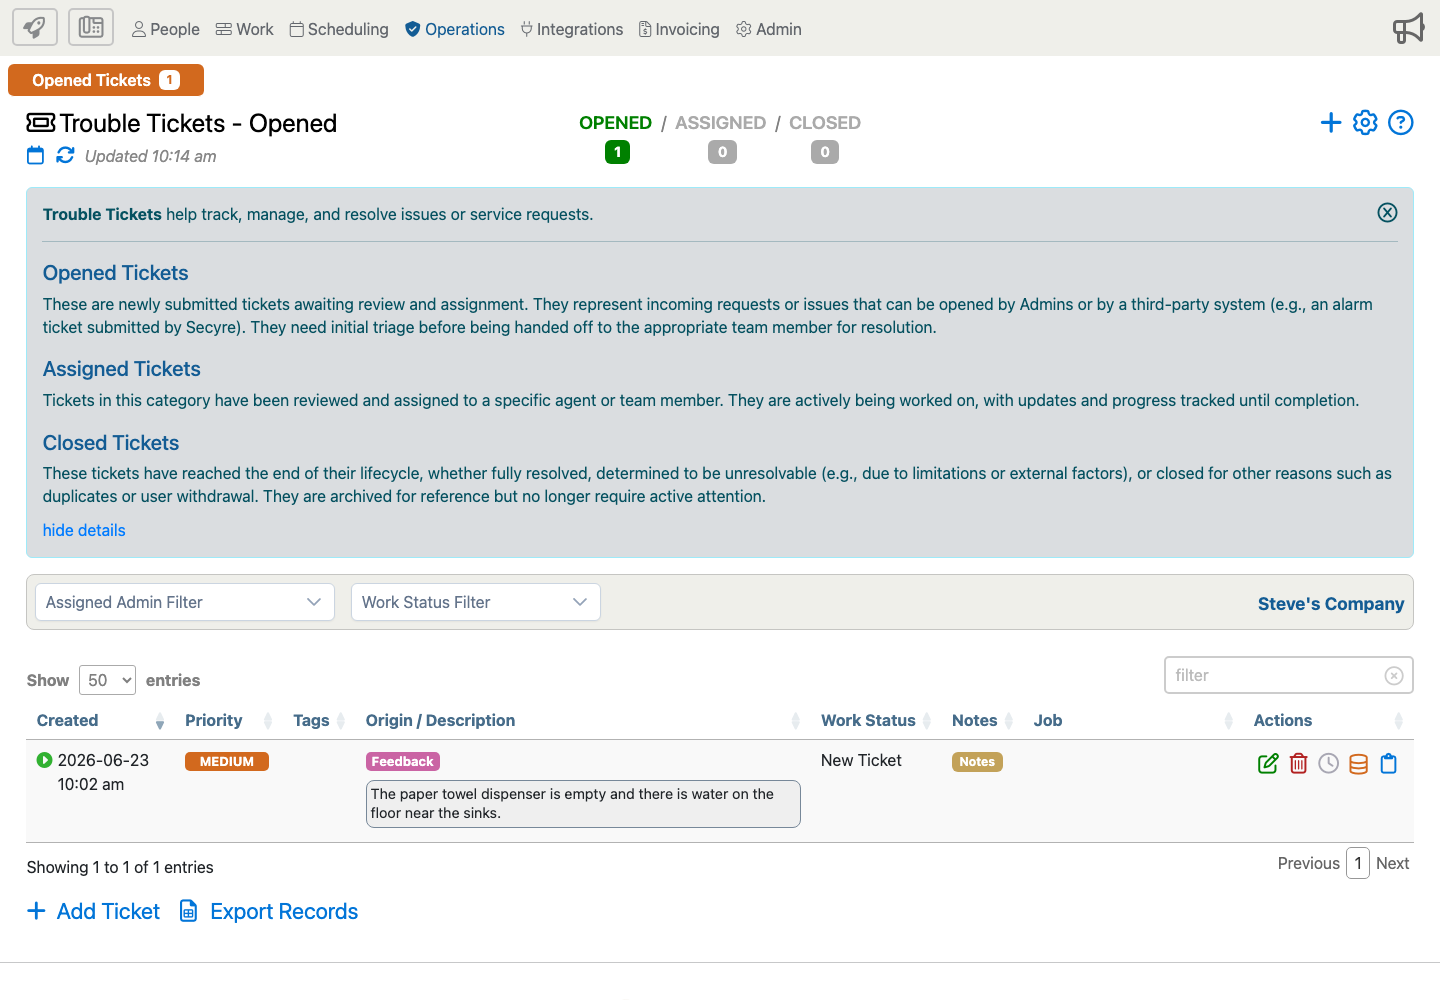
Open Operations, then choose Trouble Tickets. The page opens to the ticket queue and shows the current counts for opened, assigned, and closed tickets.
Start With The Queue Counts
The queue counts help an admin decide where to begin.
- Opened tickets are new requests waiting for review. Action Point submissions usually start here so an admin can triage them.
- Assigned tickets have been reviewed and given to an admin, supervisor, or other responsible person.
- Closed tickets are finished, cancelled, duplicated, or otherwise no longer active.
For a janitorial company, opened tickets might include restroom supply requests, spill reports, broken fixture reports, or tenant service requests. For a security company, opened tickets might include lobby assistance requests, access issues, loading dock problems, or guard follow-up items.
Find The Right Ticket
Use the filters and search tools when the list contains more than a few tickets.
- Assigned Admin Filter: Show only tickets assigned to one or more admins.
- Work Status Filter: Show tickets by their current work state, such as new, in progress, or closed.
- Table search: Search visible ticket details such as description, job, origin, tags, priority, and other enabled columns.
- Day View: Narrow the list to tickets created on a specific date when researching a shift, site incident, or daily service report.
- Manage Columns: Add columns that help your company triage work, such as job, assigned admin, tags, notes, or origin.
If your company posts many Action Point QR codes, use clear descriptions and identifiers on the Action Points themselves. That makes the resulting tickets easier to search later.
Read The Ticket Row
The ticket row gives the first triage picture before you open the ticket.
- Created: Shows when the ticket was submitted. Use this to compare the ticket with shift activity, tenant calls, or site reports.
- Priority: Shows the urgency assigned by the Action Point setup or selected by the requester if that option was allowed.
- Tags: Help group tickets by category, customer, location type, or response process.
- Origin / Description: Shows where the ticket came from and what the requester said. Action Point Basic Feedback requests appear as feedback-origin tickets.
- Work Status: Shows whether the ticket is new, assigned, in progress, or finished.
- Notes: Opens notes connected to the ticket. Use notes for admin follow-up, worker updates, phone calls, and request outcome details.
- Job: Shows the linked job when the ticket has one. This is important for Action Points because the job identifies the work site.
- Actions: Use the row actions to edit, delete when allowed, review audit history, copy a link, or open related ticket tools.
Open A Ticket For Follow-Up
Open the ticket when the row does not give enough context or when you need to change the ticket. The edit dialog is where you can update status, priority, tags, assignment, and file attachments.
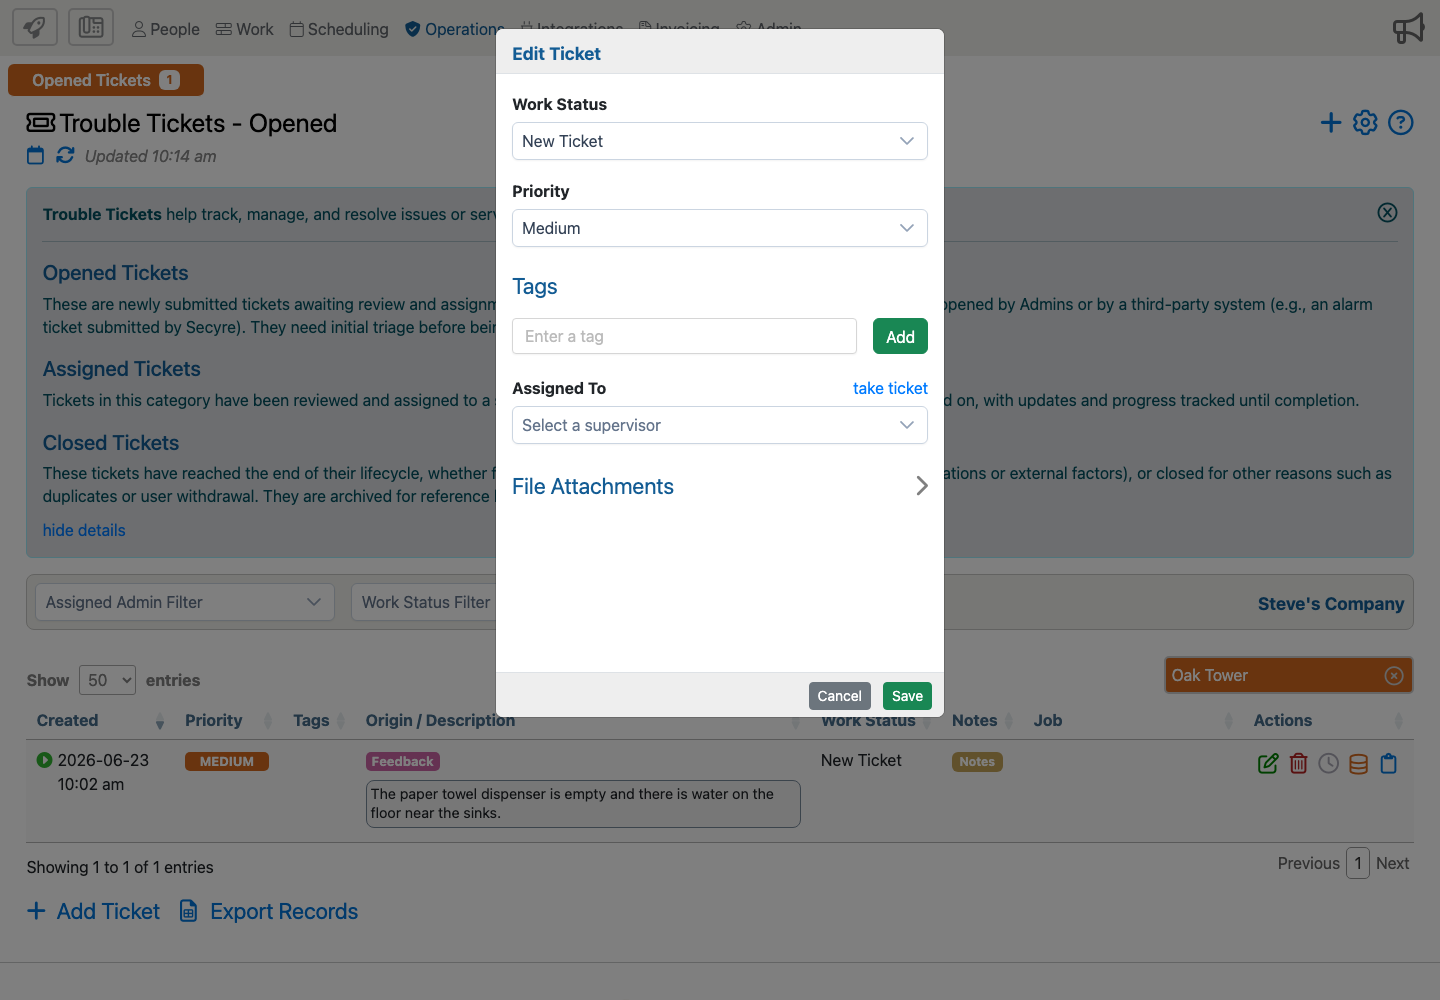
- Work Status: Move the ticket through your company workflow. Keep it new until someone has reviewed it. Move it forward only when the next person knows they own the work.
- Priority: Adjust priority if the requester selected the wrong urgency or the Action Point default does not match the actual situation.
- Tags: Add categories that make reporting and follow-up easier, such as Restroom, Tenant Request, Safety, Guard Assistance, or After Hours.
- Assigned To: Assign the ticket to the admin, supervisor, or responsible user who should drive the work to completion.
- File Attachments: Review photos submitted from the Action Point and add follow-up files when needed.
Review Action Point Details
For a Basic Feedback Action Point ticket, confirm these details before assigning or closing the ticket:
- The request description explains what the person onsite needs.
- The origin shows the ticket came from Action Point feedback.
- The linked job matches the location where the QR code is posted.
- The priority matches the real urgency.
- The notes and attachments provide enough context to act.
- The Action Point identifier or description is specific enough to identify the physical sign.
For an On-Site Worker Request, also review the request outcome. Depending on company setup and availability, the ticket or notes may show the requested worker type, linked job, workers contacted, accepted worker, accepted time, declined responses, timeout, delivery issue, or no-worker result.
Common Follow-Up Scenarios
Routine janitorial request: A tenant scans a restroom QR code and reports an empty paper towel dispenser. The admin reviews the opened ticket, checks the job, assigns it to the janitorial supervisor, and closes it after restocking is confirmed.
Photo-supported issue: A requester submits a photo of standing water, broken glass, graffiti, or a damaged fixture. The admin reviews the attachment before deciding whether to raise priority or dispatch someone immediately.
Wrong job or unclear location: The ticket description does not match the linked job, or the requester did not include enough location detail. The admin contacts the requester if possible, corrects the ticket, and then reviews the Action Point setup so future requests are clearer.
Accepted worker request: A security desk Action Point requests an on-site guard and a worker accepts. The admin confirms the accepted worker and the time accepted, then verifies completion before closing the ticket.
No worker available: An on-site worker request cannot find an eligible worker on that job. The admin should not treat the request as completed. Dispatch help manually if needed, then review the linked job, worker type, worker clock-in process, and posted sign instructions.
Worker declined or timed out: The request reached one or more workers, but nobody accepted before the response window ended. Assign the ticket for manual follow-up and review whether staffing, worker type setup, or response expectations need adjustment.
Before Closing A Ticket
- Confirm the request was handled or the reason for closing is documented.
- Review any Action Point photos, notes, and worker-response details.
- Make sure the ticket is assigned or closed according to your company workflow.
- Correct the Action Point setup if the ticket exposed a problem with the posted QR code.
- Replace or reprint the physical sign if the description, footer, PIN, location, or request type changed.
Related Pages
Use Trouble Tickets for the broader ticket page overview, Action Points for QR code setup, and On-Site Worker Requests for the worker request workflow.