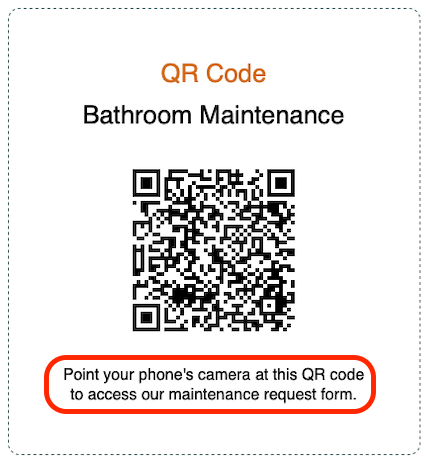
Adding Action Points
Create an Action Point when your company needs a posted QR code to start a specific request workflow from a specific location. The setup controls what the requester sees, whether the request becomes a standard Trouble Ticket or an on-site worker request, how the request is prioritized, and what information admins receive for follow-up.
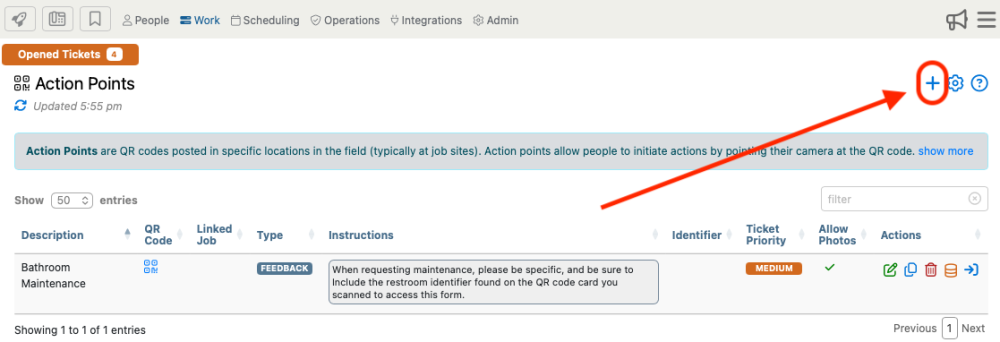
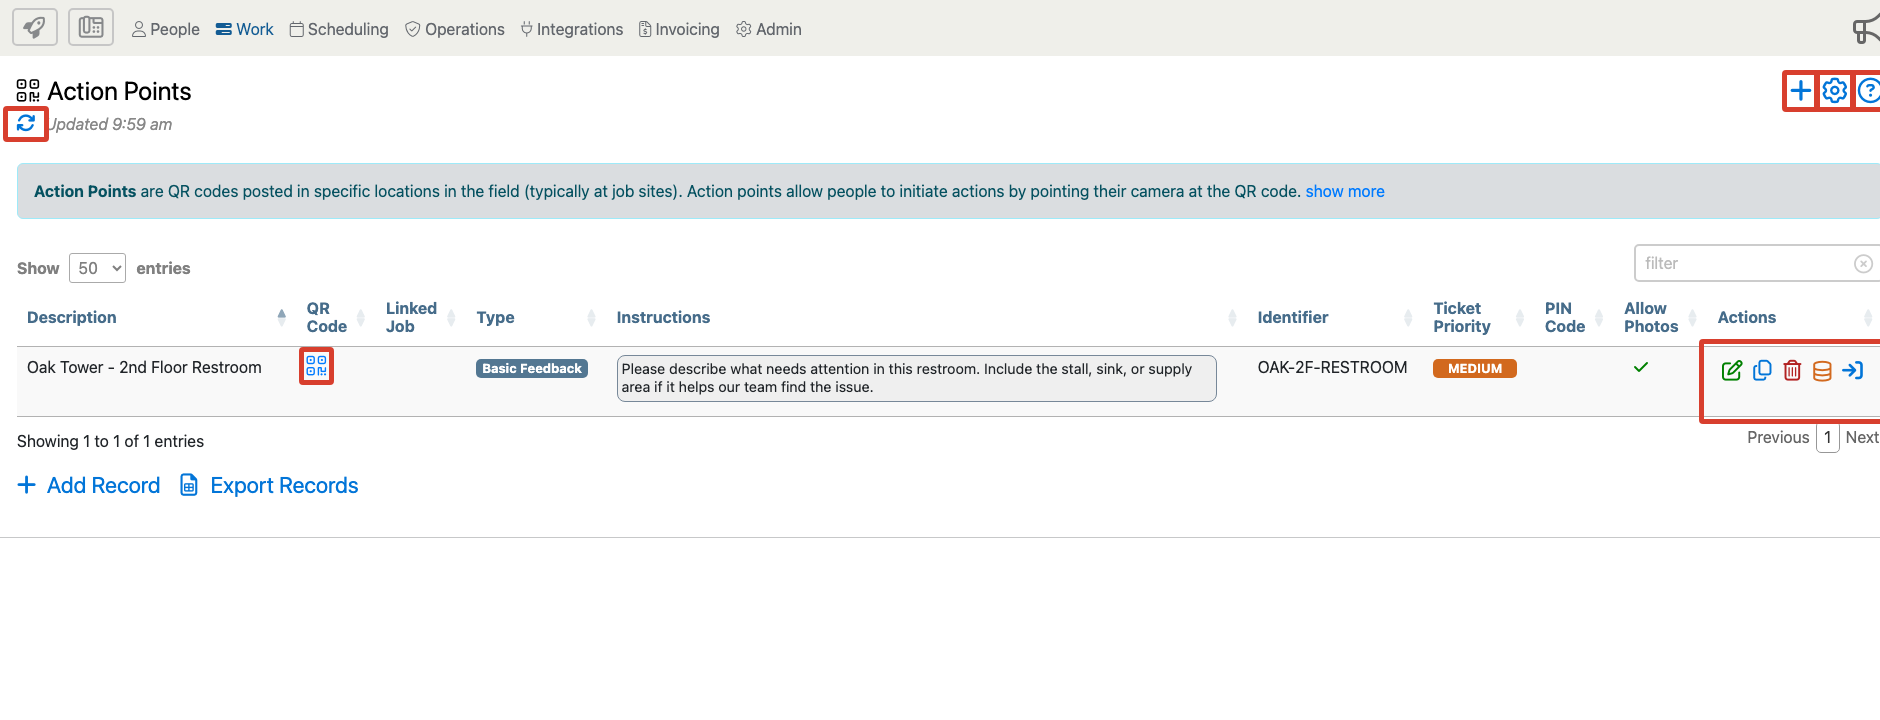
Open Work, choose Action Points, then use the add control to open the Add Action Point form.
Before You Start
Plan the Action Point before filling out the form. A strong Action Point answers three questions: where did the request come from, what should happen next, and who is responsible for follow-up?
- Location: Use one QR code for one real place, such as Oak Tower - 2nd Floor Restroom or North Lobby Guard Request.
- Workflow: Choose whether this should collect Basic Feedback or request an on-site worker.
- Job: Choose the job that represents the location. This is required for on-site worker requests and useful for standard tickets.
- Requester: Think about whether the scanner will be a tenant, visitor, employee, supervisor, janitor, guard, or member of the public.
- Printed wording: Decide what the sign should say before you print it.
- Testing: Decide who will scan and submit a test request before the sign is posted.
Complete The Add Action Point Form
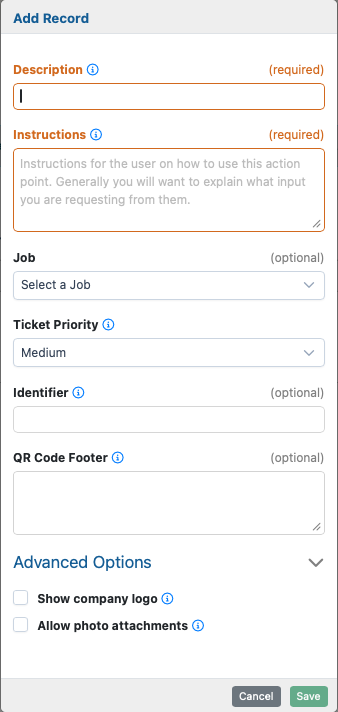
The Add Action Point form contains the public wording, internal routing, ticket behavior, and advanced controls for the QR code.
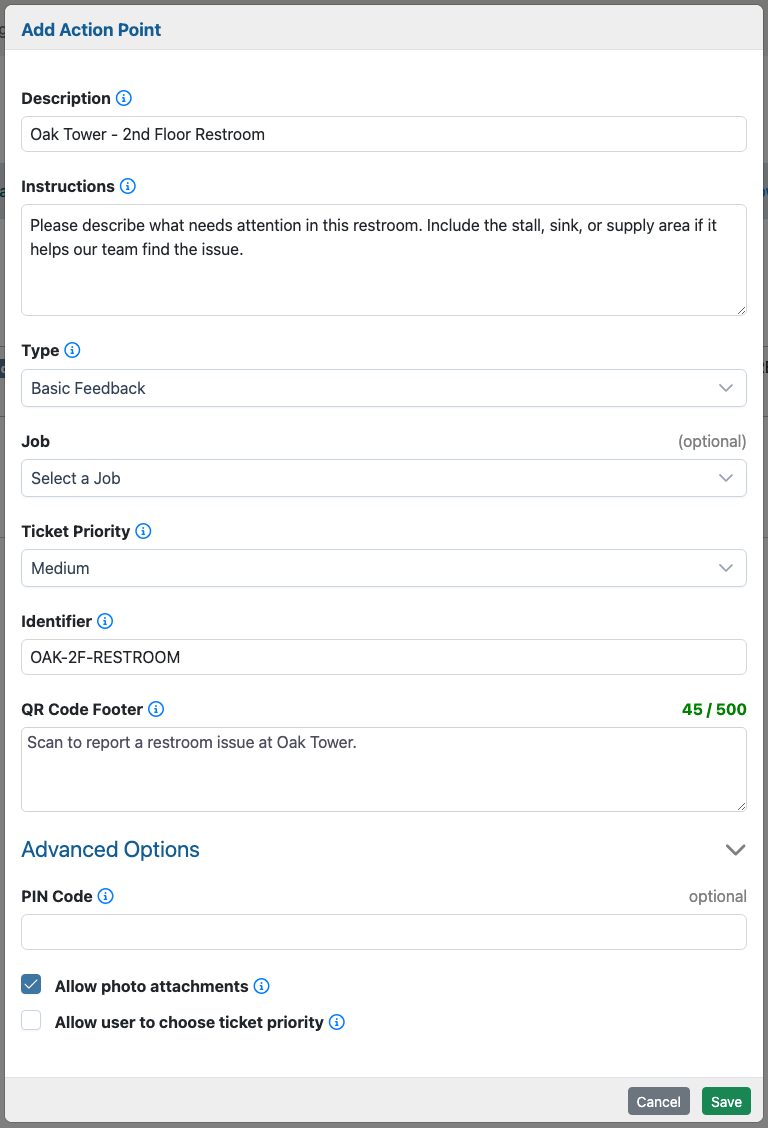
Description
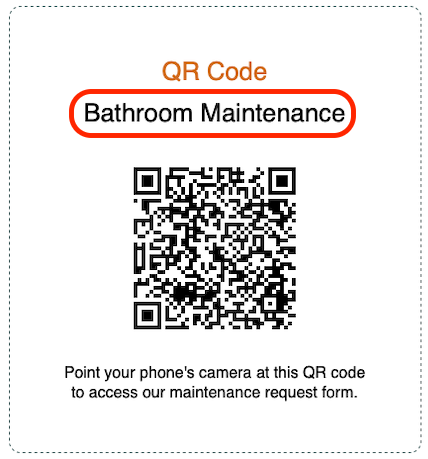
Enter a description that identifies the location or purpose. This is exposed to the requester and helps admins recognize the Action Point later. Good descriptions include enough location detail to be useful: Oak Tower - 2nd Floor Restroom, North Lobby Guard Request, or Garage Level B Elevator Bay.
Instructions
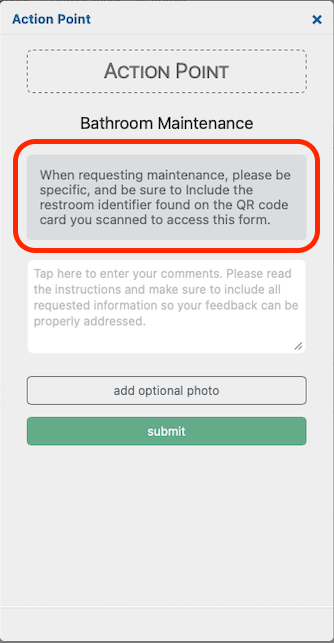
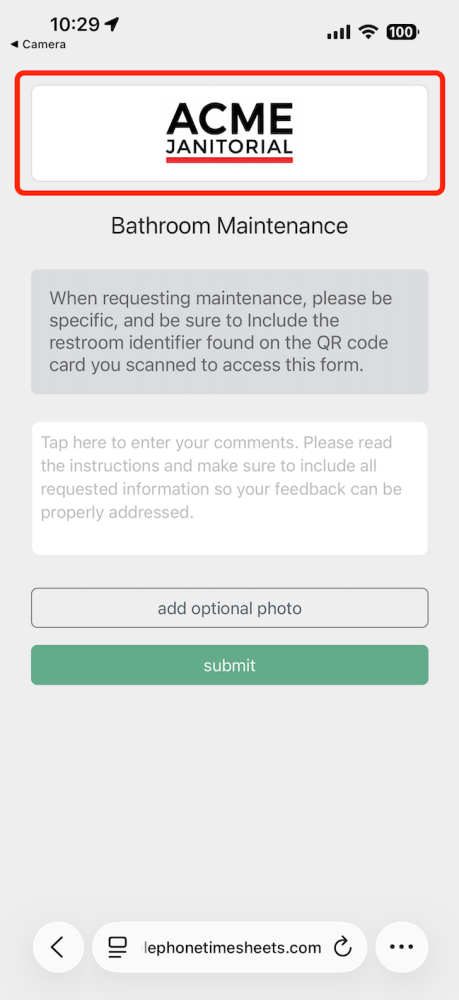
Instructions appear on the scanned mobile form. Write them for the person standing at the sign. Tell the requester what to report, where to be specific, and whether a photo will help.
For janitorial requests, ask for the area, fixture, stall, supply item, or spill location. For security requests, ask what kind of help is needed, where the requester is located, and whether anyone is waiting with them.
Type
The Type field controls the workflow.
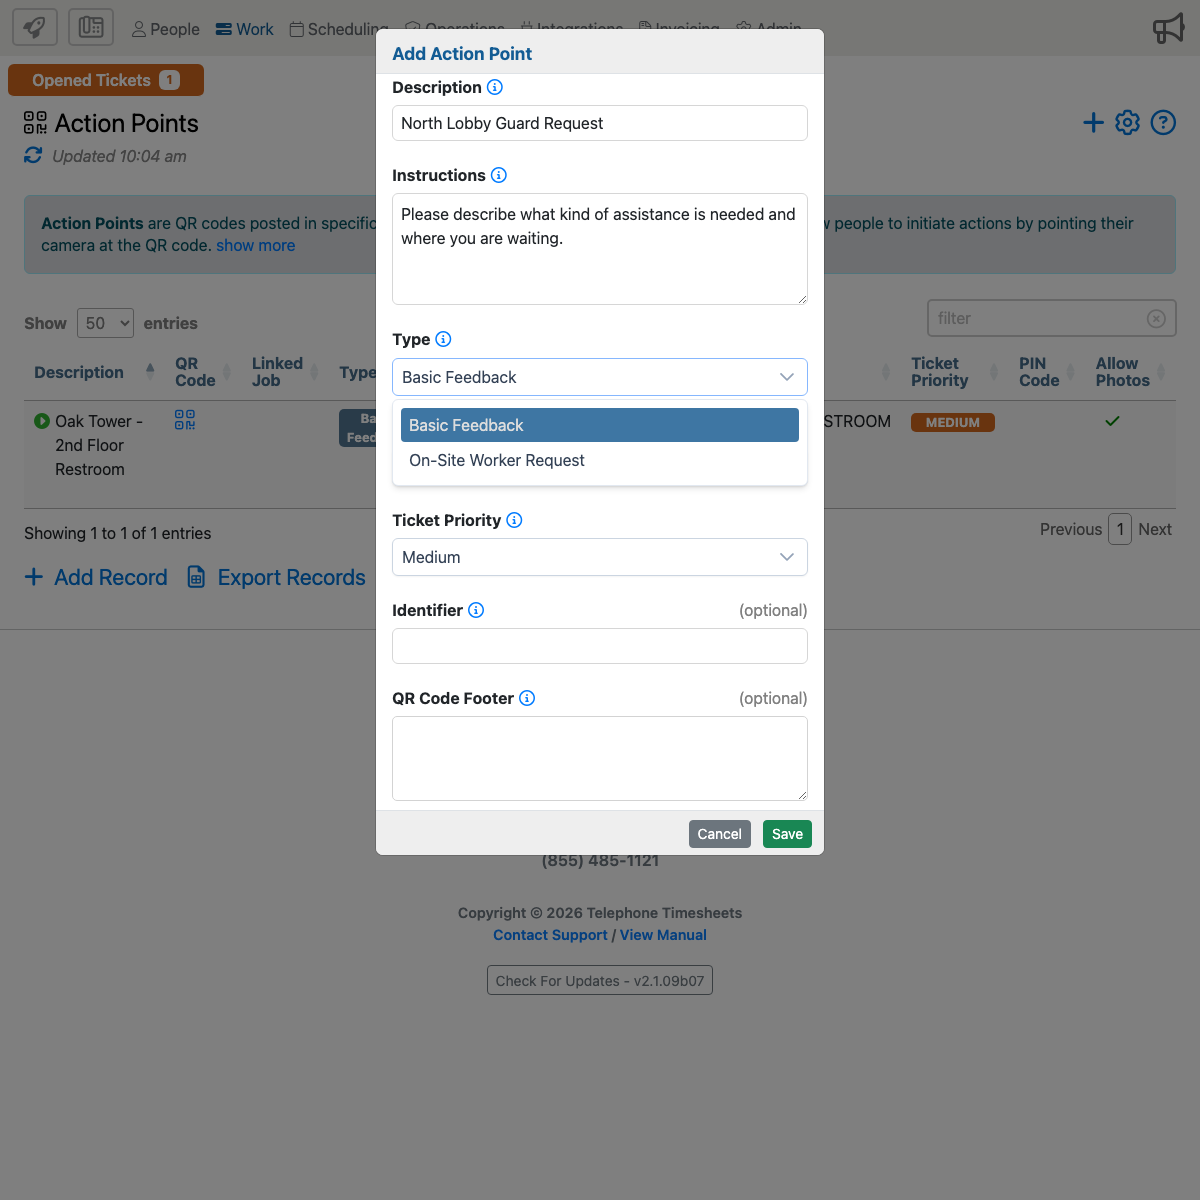
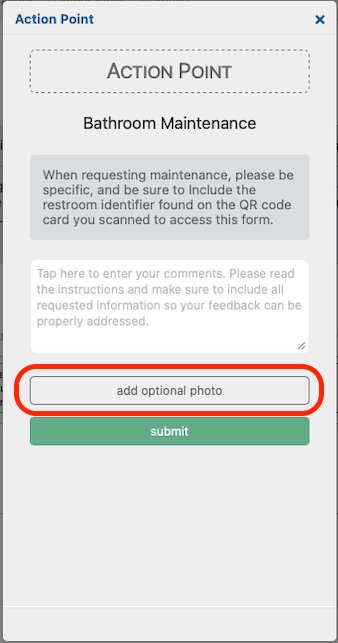
- Basic Feedback: Shows the standard feedback form. The requester enters comments, optionally attaches a photo, and submits the form. Telephone Timesheets creates a Trouble Ticket.
- On-Site Worker Request: Requests an eligible worker who is currently on site for the linked job. Use this for guard, janitorial, or other worker-response requests when your company has worker types configured.
Job
Select the job that represents the physical location or service area. For standard feedback, the job is copied to the Trouble Ticket. For on-site worker requests, the job is required because Telephone Timesheets checks worker availability against that job.
Ticket Priority
Select the default priority for tickets created from this Action Point. Match the priority to the real expectation. A restroom supply issue might be medium priority. A safety or security concern may need a higher priority.
Identifier
Use the identifier for an internal location code or sign reference. It is not exposed to the requester, but it is included with generated tickets. This is useful when several QR codes have similar names.
QR Code Footer
The QR Code Footer prints below the QR code. Keep it short and public-facing, such as Scan to report a restroom issue or Scan to request guard assistance at this entrance.
Advanced Options
- PIN Code: Requires the requester to enter a numeric PIN before using the Action Point. Leading zeroes are preserved. Use this for public signs or sensitive workflows.
- Allow photo attachments: Lets the requester attach images. Enable this when photos help the response team understand the problem.
- Allow user to choose ticket priority: Adds a priority dropdown to the requester form. Use this only when requesters can judge urgency accurately.
On-Site Worker Request Fields
When you choose On-Site Worker Request, the form requires a worker type and job. It also displays a reminder to use a PIN when the QR code is posted in a public area because opening the request may reveal whether workers are currently on site.
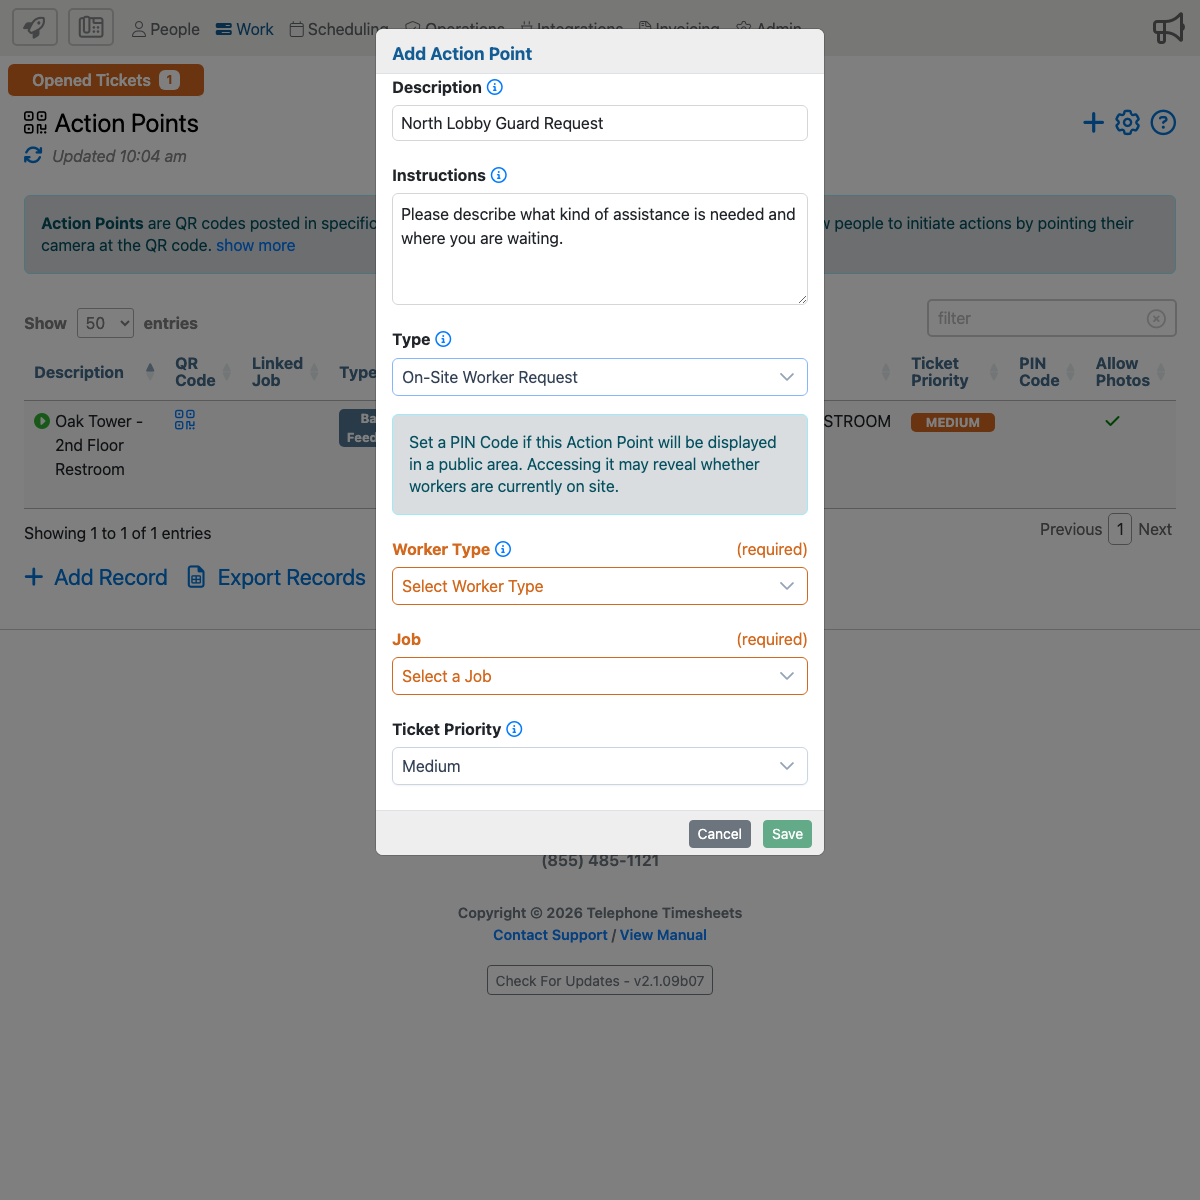
- Worker Type: Choose the worker category that should respond, such as guard, janitor, or another configured worker type.
- Job: Choose the exact job where eligible workers clock in. If workers clock in under a different job, the request may not find them.
- Instructions: Explain what the requester should include, such as entrance, floor, suite, desk, parking level, or urgency details.
Save, Test, And Print
- Save the Action Point.
- Open the QR code from the Action Points list.
- Scan the QR code with a phone.
- Confirm the description, instructions, PIN behavior, photo option, priority behavior, and request type.
- Submit a test request.
- Verify that the Trouble Ticket has the correct origin, job, priority, identifier, description, and attachments.
- For on-site worker requests, test the no-worker state and the available-worker request path before posting the sign.
- Print the QR code only after the test request behaves correctly.
Examples
Janitorial restroom sign: Description Oak Tower - 2nd Floor Restroom, type Basic Feedback, medium priority, photos allowed, identifier OAK-2F-RESTROOM, footer Scan to report a restroom issue.
Security front desk request: Description North Lobby Guard Request, type On-Site Worker Request, worker type Guard, linked lobby security job, PIN required, footer Scan to request guard assistance.
Maintenance issue: Description Garage Level B Maintenance Request, type Basic Feedback, linked maintenance job, photos allowed, footer Scan to report a garage issue.
Common Mistakes To Avoid
- Do not use one broad QR code for a large site when the response team needs the exact location.
- Do not leave instructions vague. The requester should know exactly what information to provide.
- Do not leave the job blank for an on-site worker request.
- Do not post a public on-site worker request without considering a PIN.
- Do not reuse a printed sign at a different location without updating the description, identifier, job, and footer.
- Do not post the sign before scanning it from a phone and verifying the resulting ticket or request.
 icon in the upper right corner.