Current: Editing Jobs
The Edit Job form uses the same overall layout as Add Job, but it lets you revise a live record that may already be tied to schedules, time entries, notifications, billing rules, payroll mapping, landline rules, and employee instructions.
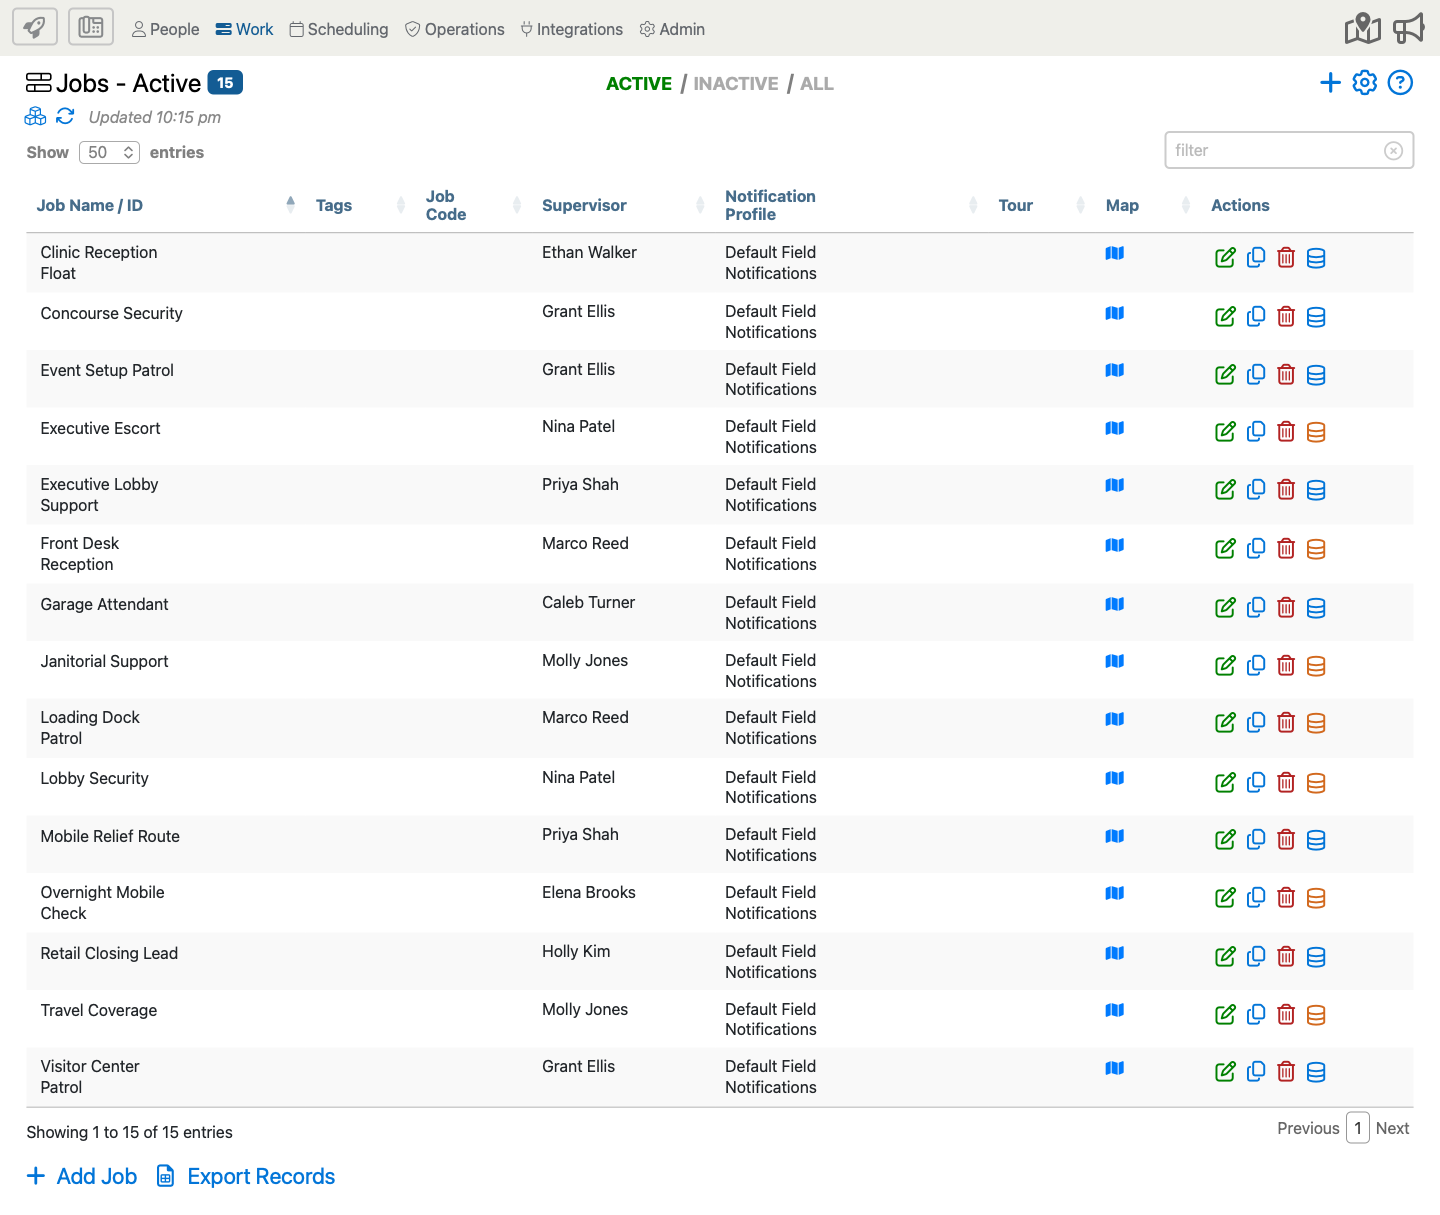
Start from Work > Jobs. To revise an existing job, find the job you want on the Jobs page and click the green pencil in the Actions column.
Once the edit dialog opens, use the composite below to review the full form, then tap a blue i marker to jump to the matching explanation.

This example shows the fullest version of the edit form. Some fields may not appear in your account, depending on how your company is set up and whether features such as QuickBooks, ADP, separate job sites, call-center checkpoints, or multi-day jobs are enabled.
Option Descriptions
Basic Information
Job Code
Update the job code only when the record should follow a different coding rule. If the code is already used in phone workflows, reports, or integrations, make sure the downstream process is ready for the change.
Job Name
Use the job name to keep the record recognizable throughout the portal. If the work assignment or site name changes, update it here so schedules, time review, and reports stay clear.
Sort Prefix
If your company uses sort prefixes, update this only when the job should sort differently in long job lists or schedule views. It is best used when your team follows a stable sorting convention across many jobs.
Job Site
When jobs and job sites are not merged, the edit form can show a required Job Site selector instead of the merged supervisor, timezone, and address block. Use it when the job should move to a different site record.
Job Site Supervisor
Change this when responsibility for the job moves to a different supervisor. This can affect who sees the job and how supervisor-based reporting or permissions behave.
Timezone
Review the timezone when a job is moved to a different region or when an inherited setting was entered incorrectly. Schedule timing and notification timing depend on it.
Street Address And Location
Keep the address fields current so maps, GPS review, and site guidance stay accurate. If the physical work area shifts within a large property, revisit the location details instead of leaving the old site information in place.
Set Address Using Map Pin
Use the map pin when the work spot is more precise than the mailing address. This is especially useful when employees check in from a specific building, lot, or section of a larger site.
Tags
Add, remove, or clean up tags as your reporting and filtering needs change. Tags are a good way to keep long job lists easier to manage over time.
Advanced Job Setup
External ID
Update this when the job must match a different outside-system record or when your integration mapping changes. Make these edits carefully if payroll, imports, or accounting systems already rely on the current ID.
Supervisor Group
Some companies also expose a Supervisor Group field in advanced options. Use it when job ownership should follow a supervisor-group workflow rather than one named supervisor alone.
Job Site Details
Use this field to revise site-specific notes such as entry instructions, access details, or on-site reminders.
Job Details
Update this area when the assignment itself changes. It is the right place for instructions about the work, expectations, or service requirements tied to the job.
Notification Profile
Change this when the job should follow a different notification plan. This can affect late, missed, or event-based alerts for the job going forward.
Tour
Update the tour assignment when the job changes to a different checkpoint route or no longer uses a tour workflow.
Dispatcher Checkpoints / Outbound Call Interval
When call-center checkpoints are enabled, the form can show an Outbound Call Interval field under a Dispatcher Checkpoints heading. Update it only when the job’s checkpoint cadence should change.
Unpaid Break Options
Revise these values when the job's built-in unpaid-break rule changes. The break settings here control automatic job rules, not employee-initiated break activity inside time entries.
If your company uses budget adjustment rules, the job may also include an option to ignore automatically deducted unpaid breaks for budget adjustment calculations. That option changes only how the budget adjustment is calculated; it does not remove the break from the time entry or change ordinary break reporting.
Unpaid Break Length
Use this field to set how many minutes should be treated as the unpaid break for the job. Change it only when the standard unpaid break for that assignment has changed.
Billing, Payroll, And Accounting
Client And Vendor Options
Use these fields when the job should be associated with a different client, customer, or vendor for reporting, billing, or downstream processing.
Client / Customer
Choose the client or customer record that should own or receive the job in reporting and billing workflows. Update it when the job moves under a different customer relationship.
Vendor
Use the vendor field when the job should be tied to a different subcontractor or vendor relationship. This matters most when your company uses vendor-level billing, reporting, or downstream exports.
Bill / Pay Rate Options
Update these defaults only when job-level employee, client, or vendor rates should change. Because these values can affect payroll and billing workflows, confirm the change with your accounting or payroll process first.
Base Employee Pay Rate
Use this value when the job should supply a default employee pay rate. Because it can affect payroll, confirm the change before saving it.
Base Client Bill Rate
Use this field when the job should supply a default client bill rate for customer billing. Update it carefully so invoices and reports continue to reflect the right pricing.
Base Vendor Pay Rate
Use this value when the job should set a default vendor pay rate for subcontractor or vendor workflows. Change it only when the vendor-side rate for the job has truly changed.
Budgeted Time And Overage Tracking
Use Budgeted time for this job when the job has an expected labor budget. Enter the budget as hours and minutes, such as 08:00 for an eight-hour job. When employees stay clocked in longer than this budget, Telephone Timesheets can track the difference as overage so supervisors can review it later.
If you only need budget-versus-actual reporting, enter the budget and leave the adjustment rule set to No Adjustment / Report Only.
Budget Adjustment Rule
The Budget Adjustment Rule selector appears after budgeted time is entered. It controls whether the final time worked should stay as the employee actually clocked it, match the job budget, or be adjusted only in specific overage or tardy situations.
When the job also has the ignore-unpaid-breaks option enabled for budget adjustments, automatically deducted unpaid breaks are left out of the budget-adjustment calculation. Use that only when your company wants the budget rule to compare the worked shift against the budget before the unpaid break deduction is considered.
Use this carefully because it can affect downstream time review, payroll preparation, billing review, and reporting. When in doubt, use No Adjustment / Report Only until your company has confirmed the rule it wants to apply.
Ignore Unpaid Breaks For Budget Adjustments
Enable this job-level option when budget adjustment rules should ignore automatically deducted unpaid breaks. This is most useful when a job has a minimum or budgeted amount that should be evaluated without reducing the shift by the automatic unpaid break first.
This setting affects budget adjustment calculations only. Employees can still take breaks, automatic break deductions can still appear on time entries, and break reporting continues to show the break activity normally.
No Adjustment / Report Only
This keeps the employee's actual clocked time unchanged. The budget still appears in reporting and can help identify overage, but Telephone Timesheets does not change the time worked to match the budget.
Example: The job budget is 08:00. If the employee works 07:30, the time stays 07:30. If the employee works 08:45, the time stays 08:45, and the extra time can be reviewed as overage.
Match Always
This adjusts the time worked to the budget every time, regardless of whether the employee clocked less or more time than the budget. Use it only for jobs that should always count as a fixed budgeted duration.
Example: The job budget is 08:00. If the employee works 07:15, the adjusted time becomes 08:00. If the employee works 08:45, the adjusted time also becomes 08:00.
Match Only When Under
This protects the budgeted amount when the employee works less than the budget, but keeps actual time when the employee works more than the budget. Use it when a job should pay or count at least the budgeted amount, while still preserving true overage when work runs long.
Example: The job budget is 08:00. If the employee works 07:30, the adjusted time becomes 08:00. If the employee works 08:45, the time stays 08:45.
Match Only When Over
This caps the time worked at the budget only when the employee goes over budget. If the employee works at or under the budget, the actual clocked time stays unchanged.
Example: The job budget is 08:00. If the employee works 07:30, the time stays 07:30. If the employee works 08:45, the adjusted time becomes 08:00.
Match Unless Over/Tardy
This is a more specific budget rule for jobs where late arrival should matter only when the employee also works less than the budget. If the employee works the full budget or goes over budget, actual time is preserved. If the employee works under budget and was late, Telephone Timesheets subtracts the late-start amount from the budgeted time.
Example: The job budget is 08:00. If the employee is on time and works 07:30, the adjusted time becomes 08:00. If the employee starts 15 minutes late and works less than the budget, the adjusted time becomes 07:45. If the employee works 08:45, the time stays 08:45 because the employee went over budget.
ADP Options
ADP-connected companies can see Department Code and Rate Code selectors. Update those only when the job should map differently in ADP exports or payroll coding.
QuickBooks Options
QuickBooks-connected companies can see one or more of these fields: Customer, Vendor, and Service Item. Update those only when the job’s accounting mapping changes.
QuickBooks Customer
Choose the QuickBooks customer record that this job should map to. Update it when the accounting side of the job needs to roll up under a different customer in QuickBooks.
QuickBooks Service Item
Use the service item field to map the job to the correct QuickBooks service classification. This helps keep exported accounting records consistent.
General Payroll Options
The form can also show Work Tax Location and NCCI Code when payroll or compliance mapping is enabled. Review these carefully before changing them because they can affect tax and classification reporting.
Cost Center
Use this field when your company groups job activity by cost center for payroll or accounting. If your company does not rely on cost centers, the field can remain blank.
Operational Controls
Miscellaneous Options
This section controls operational behavior such as active status, highlight color, photo requirements, QR check-in or check-out requirements, landline linking, and, for some companies, Enable multi-day job. Review these settings any time the way employees work the job changes.
Highlight Color
Use the highlight color when your company color-codes jobs in portal lists, schedules, or other views. Choose a color that helps the job stand out without conflicting with your team’s usual color conventions.
Mark Job Active
Leave this enabled for jobs that should stay available for normal use. Turn it off when the job should be retired from day-to-day activity without deleting its history.
Require Photo Check In
Enable this when employees must capture a photo while clocking in to this job. It adds an extra confirmation step at the start of the shift.
Require QR Code Check In
Turn this on when employees should scan a QR code before clocking in to the job. It is useful when the job must be started only from a specific location or posted code.
Require Photo Checkpoints
Use this option when checkpoint activity for the job should include photo proof. It is most useful for routes or posts where visual confirmation matters.
Require Photo Check Out
Enable this when employees must capture a photo at clock-out. This can help confirm end-of-shift activity or site departure requirements.
Require QR Code Check Out
Turn this on when employees must scan a QR code before clocking out of the job. Use it when the company wants a location-based confirmation at the end of the shift.
Link Job Site To Landline Numbers
Use this when the job should be tied to approved landline phone numbers for phone clock-in workflows. It helps keep landline-based clock-ins tied to the correct site.
Linked Numbers
When landline linking is enabled, the edit form can show Only allow linked numbers, Current Landline Phone Numbers, and a Link Landline Phone Number area. Use these to tighten phone clock-in rules for fixed-site jobs.
Only Allow Linked Numbers
Enable this when phone clock-ins should be accepted only from the landline numbers linked to the job. It is the strictest option for site-based phone clock-in control.
Job Instructions
Keep this section current when employee-facing instructions, post orders, or attached files change. It should reflect the guidance employees need while working the job now, not outdated instructions from an earlier workflow.
Save And Verify The Change
- Review whether the update should take effect immediately for future use of the job.
- Save the form, then return to Work > Jobs and confirm the record still appears in the correct status tab and list.
- If you are retiring the job instead of removing history, use the active status setting in the form instead of deleting the record.