Trouble Tickets
The Trouble Tickets page is where admins review, assign, update, and close operational work. Tickets can be created manually by admins or automatically from workflows such as Action Point QR code requests.
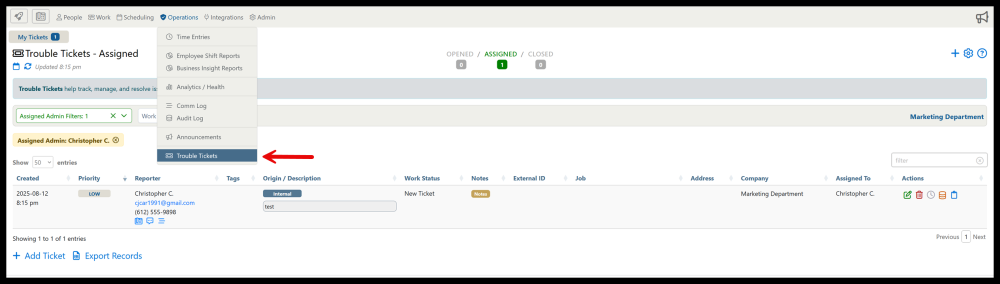
Open Operations, then choose Trouble Tickets.
Highlights Of The Trouble Tickets Page
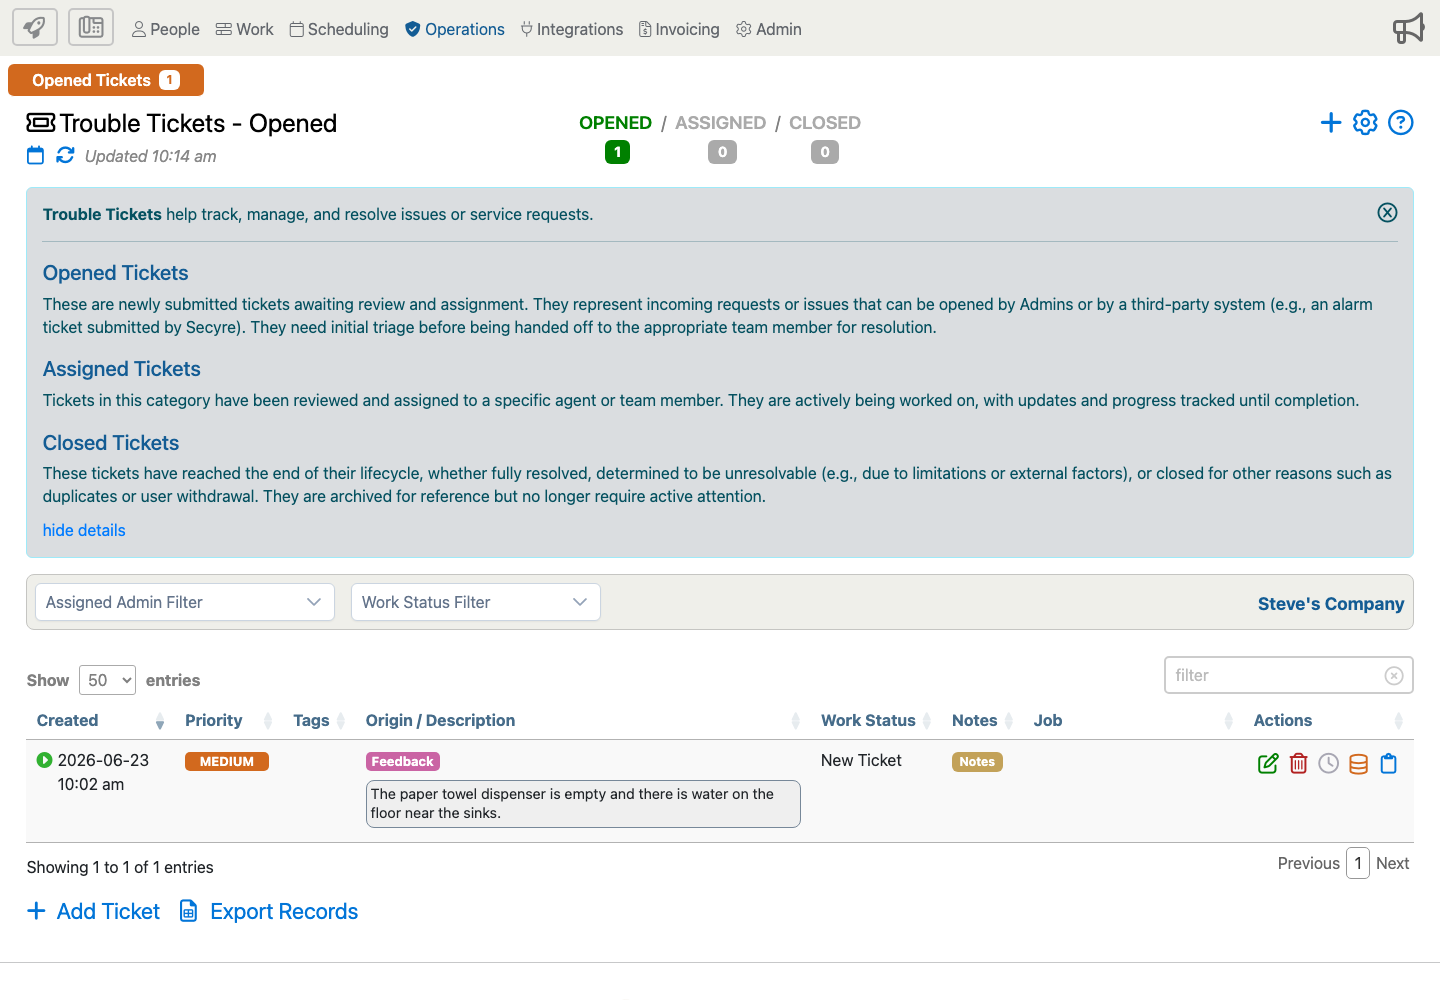
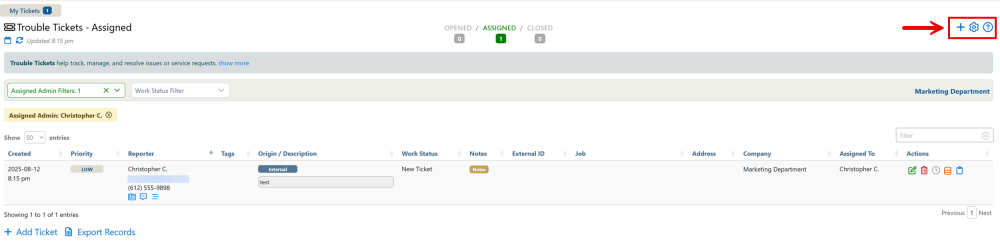
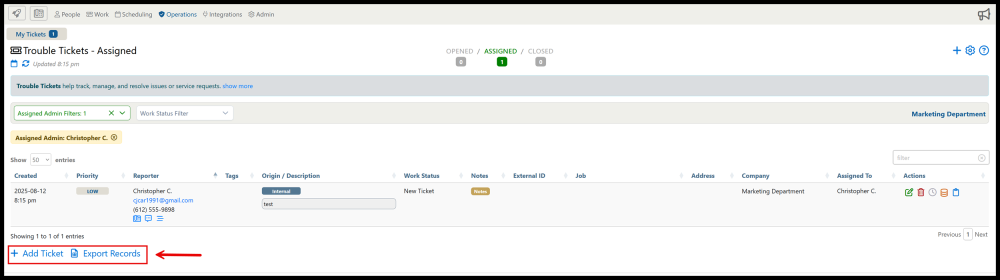
- Add Ticket creates a new manual ticket.
- Manage Columns controls which table columns are visible.
- Show Help explains opened, assigned, and closed tickets.
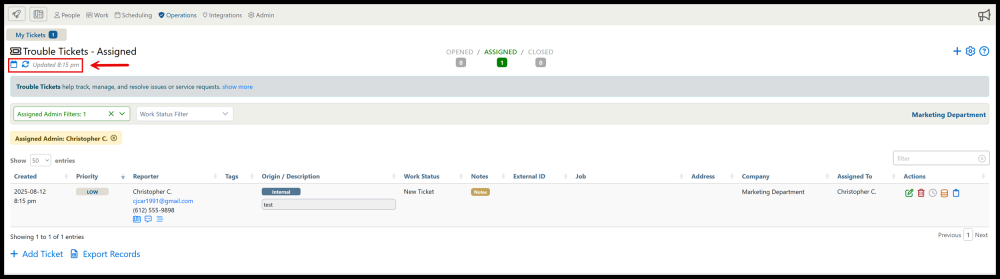
- Day View changes the page to tickets for a selected date.
- Refresh Data reloads the ticket list.
- Opened / Assigned / Closed counts show the current workload by ticket stage.
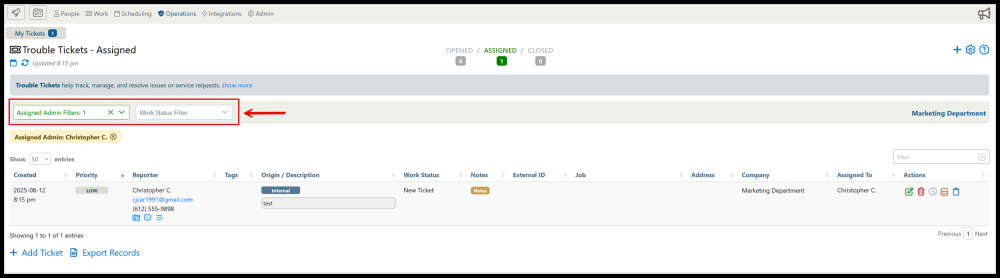
- Assigned Admin Filter, Work Status Filter, and the table search help you find the tickets that need attention.
Tickets Created From Basic Feedback Action Points
When someone scans a Basic Feedback Action Point and submits the form, Telephone Timesheets creates a Trouble Ticket.
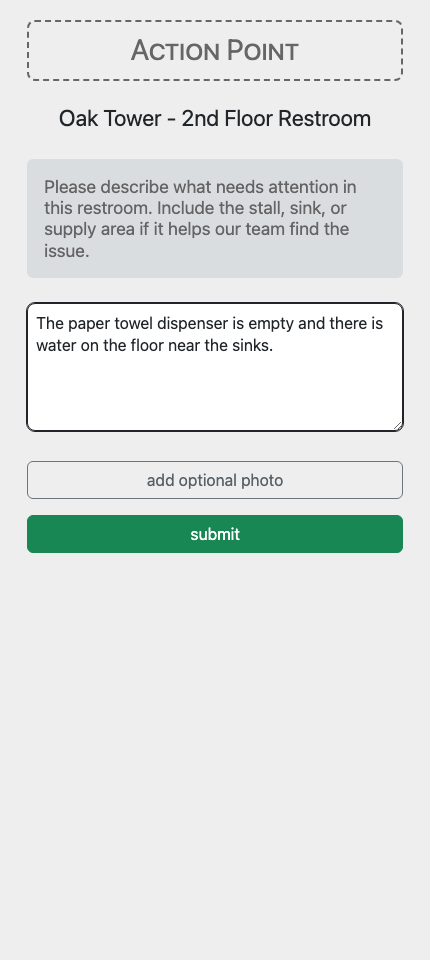
The ticket receives the key Action Point details:
- Description: The requester's comments become the ticket description.
- Origin: The ticket origin identifies that it came from Action Point feedback.
- Reporter: The Action Point description and identifier help admins identify the posted QR code that generated the request.
- Job: The linked job is copied to the ticket when the Action Point has one.
- Priority: The Action Point priority becomes the ticket priority unless the requester was allowed to choose priority.
- Files: Submitted photos are attached to the ticket when photo attachments are allowed.

On the Trouble Tickets page, an Action Point feedback ticket can usually be recognized by the feedback origin, the request description, the linked job when one was selected, the ticket priority, any notes, and any attached files.
On-Site Worker Request Tickets
On-site worker requests also need durable admin follow-up. Depending on company setup and request outcome, the ticket or request details may show requester information, requested worker type, linked job, request status, workers contacted, accepted worker, accepted time, declines, timeout, delivery problems, and notes.
Use those details to decide whether the request is finished or still needs intervention. A request accepted by a worker should be handled differently from a request that timed out or could not find an eligible worker.
Working Action Point Tickets
Open the ticket when you need to assign it, change priority, update status, add tags, or attach follow-up files.
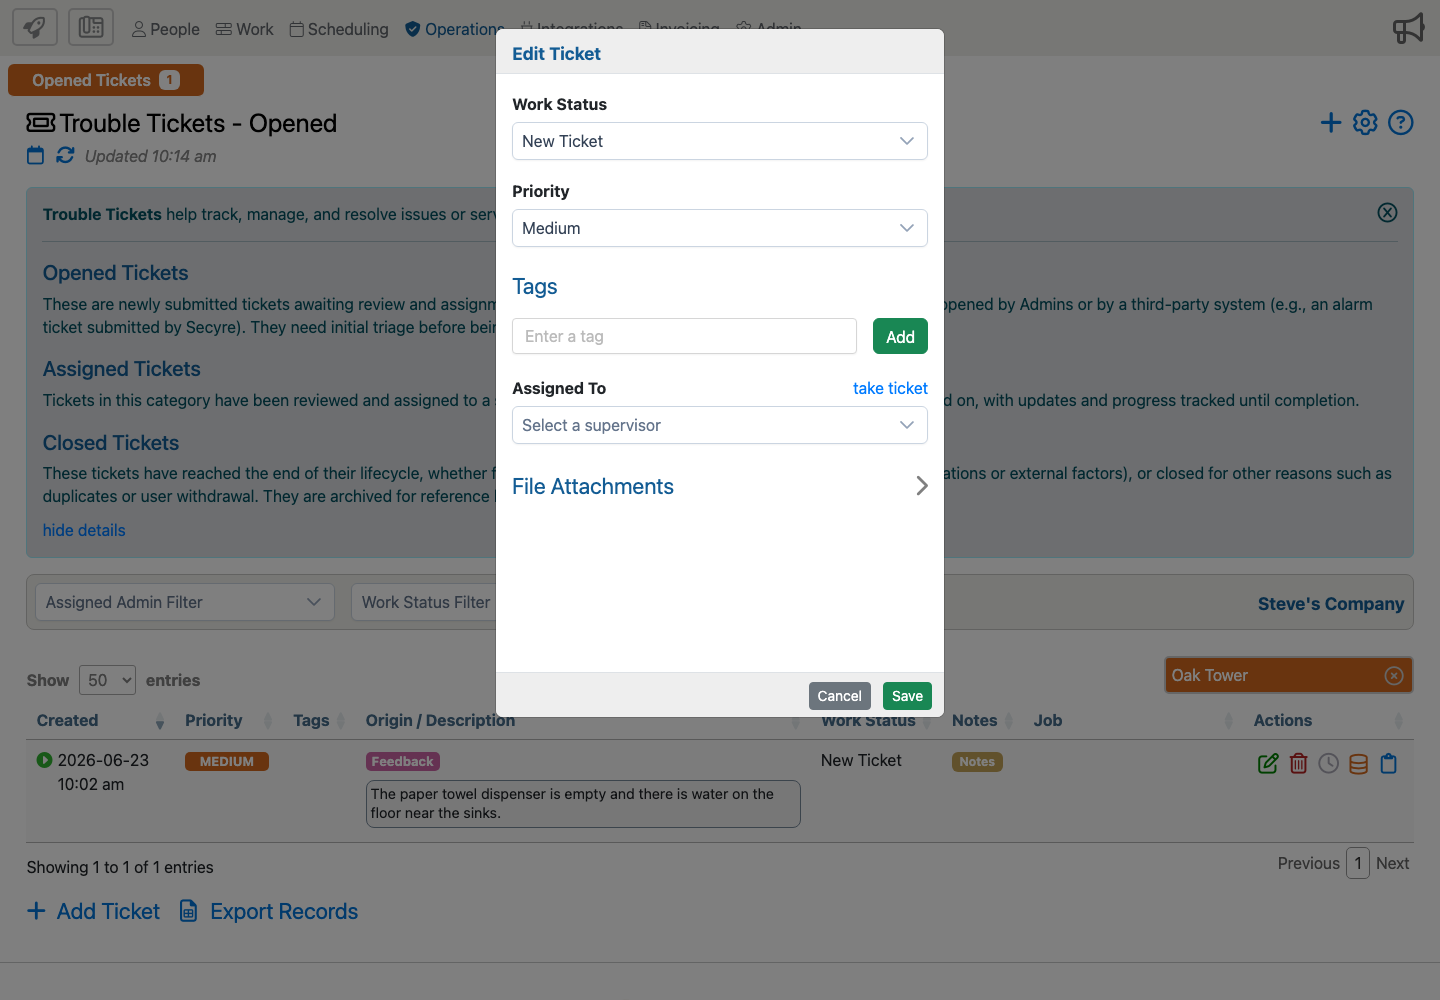
- Open the ticket and confirm the Action Point origin, description, identifier, job, and priority.
- Read the requester comments and review any attached photos.
- For on-site worker requests, review the worker type, availability result, contacted workers, accepted worker if any, and notes.
- Contact the requester if the request lacks enough detail.
- Assign the ticket to the right admin or worker when manual follow-up is needed.
- Update the ticket status as work progresses.
- Close the ticket only after the issue has been handled or the request outcome is documented.
Examples
Cleaning request: A tenant scans a restroom Action Point and reports that supplies are out. The ticket shows the restroom Action Point origin, medium priority, requester comments, and any submitted photo.
Guard request accepted: A front-desk QR code starts an on-site worker request. A guard accepts the request. The ticket should show enough detail for an admin to confirm completion and close the request.
No worker accepted: A loading dock request is submitted, but no eligible worker accepts before the response window ends. The ticket remains open for admin follow-up and should not be treated as completed.
Follow-Up Checklist
- Is the ticket linked to the expected job?
- Does the description contain enough detail to respond?
- Are photos attached when the Action Point allows them?
- Does the priority match the real urgency?
- For on-site worker requests, did a worker accept, decline, time out, or fail delivery?
- Does the Action Point setup need to be corrected before the QR code is used again?
 , adjust settings
  , and find additional information about the trouble ticket page
  .
.
 ticket entries, delete
  tickets entries, add
  a time entry, view
  audit history, and copy
 a link to the ticket.
 in the upper right corner. You can also download time entry records by clicking
 and refresh the Trouble Tickets page
  .
.