Time Entries
The Time Entries page is the main operations view for employee time activity. Use it to see who is currently working, review completed shifts, find records that need attention, and open the tools used to correct or investigate a time entry.
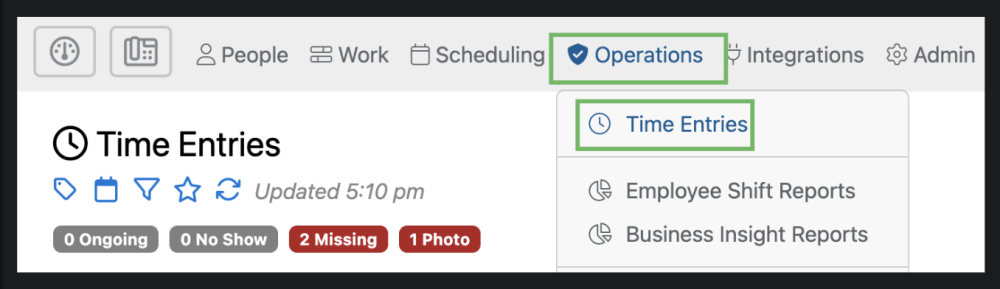
Open this page from Operations > Time Entries in the Administrative Portal.
What The Time Entries Page Shows
The page lists employee time records and related shift details in one working table. Depending on your company settings and the columns you have enabled, the table can show employee name, employee status, job, job date, actual shift time, breaks, total hours, overage, scheduled hours, notification status, voice verification, GPS and detail tags, checkpoints, reports, supervisors, notes, tickets, job address, lock status, and row actions.
Some columns appear only when the related feature is enabled or when your permissions allow access. For example, GPS details, checklist issues, client or vendor columns, tickets, support actions, and lock information may vary by company setup.
Page Controls
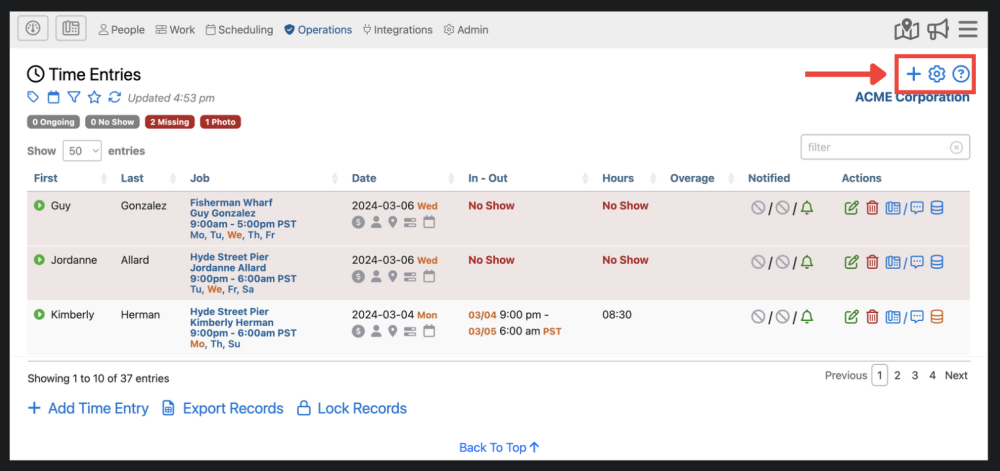
Use the blue plus icon to add a new time entry. Use the gear icon to adjust Time Entries preferences, including visible columns and related display options. Use the question-circle icon to open the built-in help panel for the page.
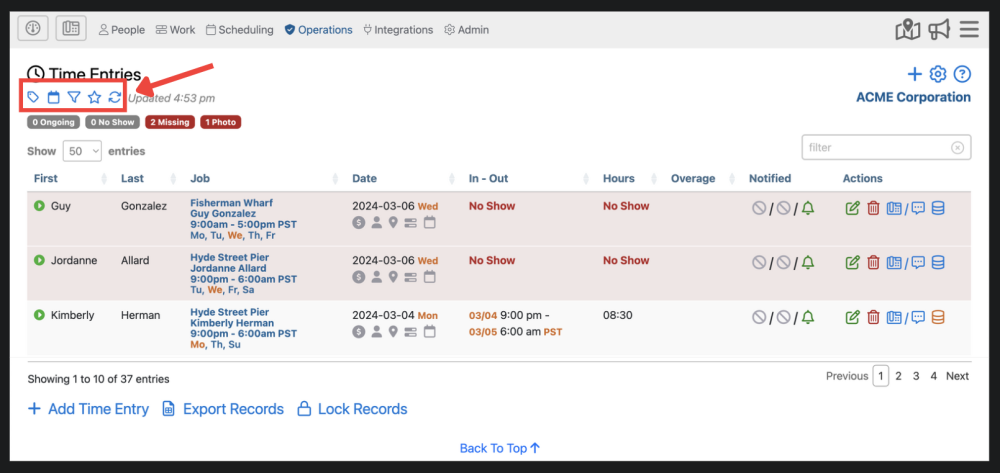
The sub-header controls help you narrow the list without leaving the page. Use the tag icon to open issue and source filters, the calendar icon to switch into Day View, the filter icon to choose a date range, the star icon to show entries that need attention, the table icon to change the table layout, and the refresh icon to reload the current view.
Status Tags And Issue Filters
Status tags at the top of the table summarize records that may need attention. Tags such as Ongoing, No Show, Missing, Invalid, Unassigned, Photos, and Checklists appear when matching records exist. Click a status tag to filter the table to that type of record.
The tag filter menu can also show filters for employees on break, ongoing shifts, unclosed shifts, missing checkouts, recent or all no-shows, invalid hours, early or late activity, GPS issues, clock-in source, image issues, checklist issues, employee-denied breaks, and employee count overage. The exact filter list depends on company settings and the data currently available.
You can refine many filters by adding an employee name, job name, or other search text after the selected filter tag in the table search box.
Day View And Date Range View
Use Day View when you want to focus on one date. When Day View is active, the page title changes to the selected date, and previous-day and next-day arrows appear so you can move through the schedule one day at a time.
Use the date-range filter when you need to review a larger period. If the selected range contains more records than the table can display at once, Telephone Timesheets warns you so you can narrow the range and avoid missing records.
Working With A Time Entry
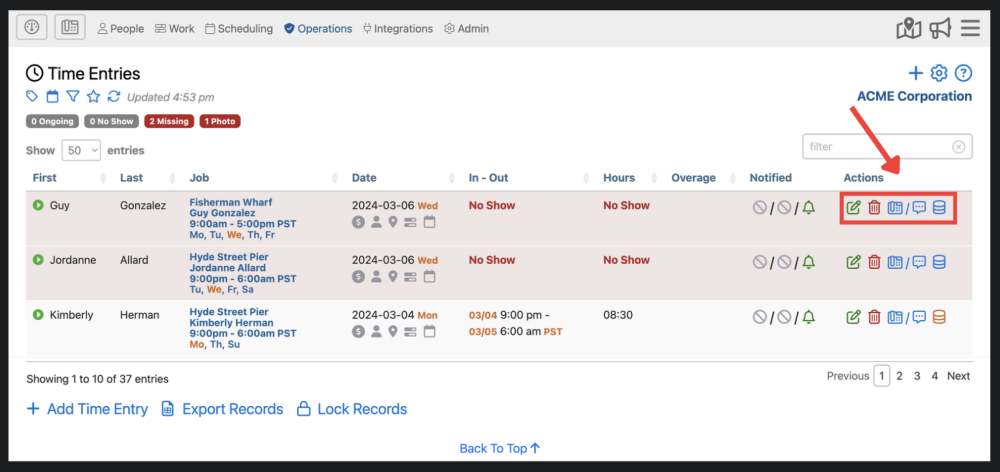
The Actions column provides the row-level tools for a time entry. Use the green pencil edit icon to open the record, the red delete icon to delete a record when allowed, the audit icon to review record history, the ticket icon to add or link a support ticket, the support icon to contact Telephone Timesheets support about that record, and the phone icon to start a click-to-call workflow when available.
Actions depend on your permissions and the record state. For example, exported or locked records may restrict editing or deletion, and some actions are not available for no-show records, global-company views, or records that your user does not have permission to modify.
Checkpoints, Reports, Notes, And Breaks
When employees submit checkpoints or in-shift reports, the Time Entries table can show count or view controls that open the related details. If the shift includes audio reports or voice verification, available play controls use the audio player and may open a small playback message while the audio is playing.
Break information appears when break tracking is enabled. Break editing is available from the Time Entries workflow when allowed, but no-show records and some global views do not support break editing.
Notes and tickets help document follow-up. Depending on the record type, you can add an admin note, enable notifications for the note, or link the time entry to a ticket for later review.
Exporting And Locking Records
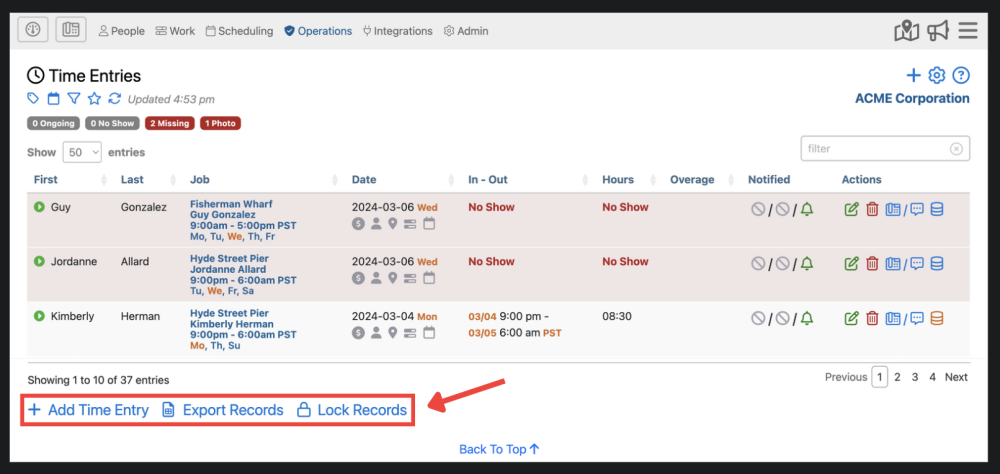
Use Export Records to download the visible time-entry records. Use Lock Records when you need to prevent changes to records on or before a selected lock date. Locked or exported records show lock-related status and may restrict later edits or deletion.
No-Show Alerts And Sound
No-show records can appear in the Time Entries page and in the page filters. When no-show portal alerts are enabled for a supervisor, Telephone Timesheets can also show a visual alert when the system creates a no-show record. The alert helps supervisors notice a missed shift even when they are working elsewhere in the Administrative Portal.
A no-show alert can include a View No Show or related view action that opens the matching time entry. If the no-show belongs to another company the supervisor can access, Telephone Timesheets can switch to the correct company context before opening the record.
Alert sounds are a supplemental cue. Whether a sound plays depends on the browser, device, site sound permissions, and whether the browser allows audio playback at that moment. Keep the Administrative Portal open and rely on the visual alert as the primary confirmation.
Related Time Entry Pages
Use the child pages for step-by-step details about adding, editing, deleting, click-to-call, and troubleshooting time entries. This overview page explains how to read and navigate the main Time Entries work area.
 , adjust settings
  , and find additional information about the time entries page
  .
.
 time entries, delete
  time entries, view an employees contact information, notes, or comm log
  and click-to-call
  , and audit history
 and lock records by selecting
 icon.
icon.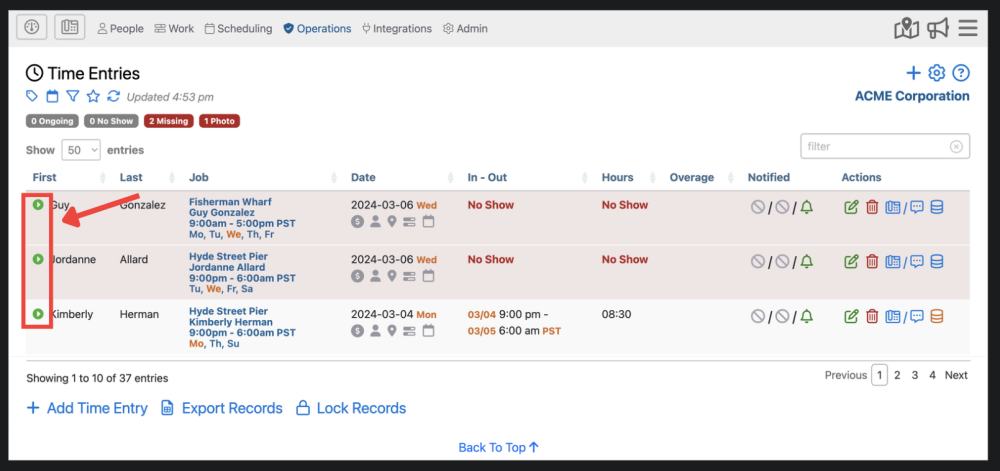
 , view your time entries on a day-by-day basis
  , select a date range filter which will show only time entries from that range
  , show time entries from the last 30 days that may need attention
  , and refresh the Time Entries page
  .
.