Current: Adding Employees
The Add Employee form is where you create the employee records your company uses for clocking in, scheduling, notifications, payroll setup, and everyday workforce management.
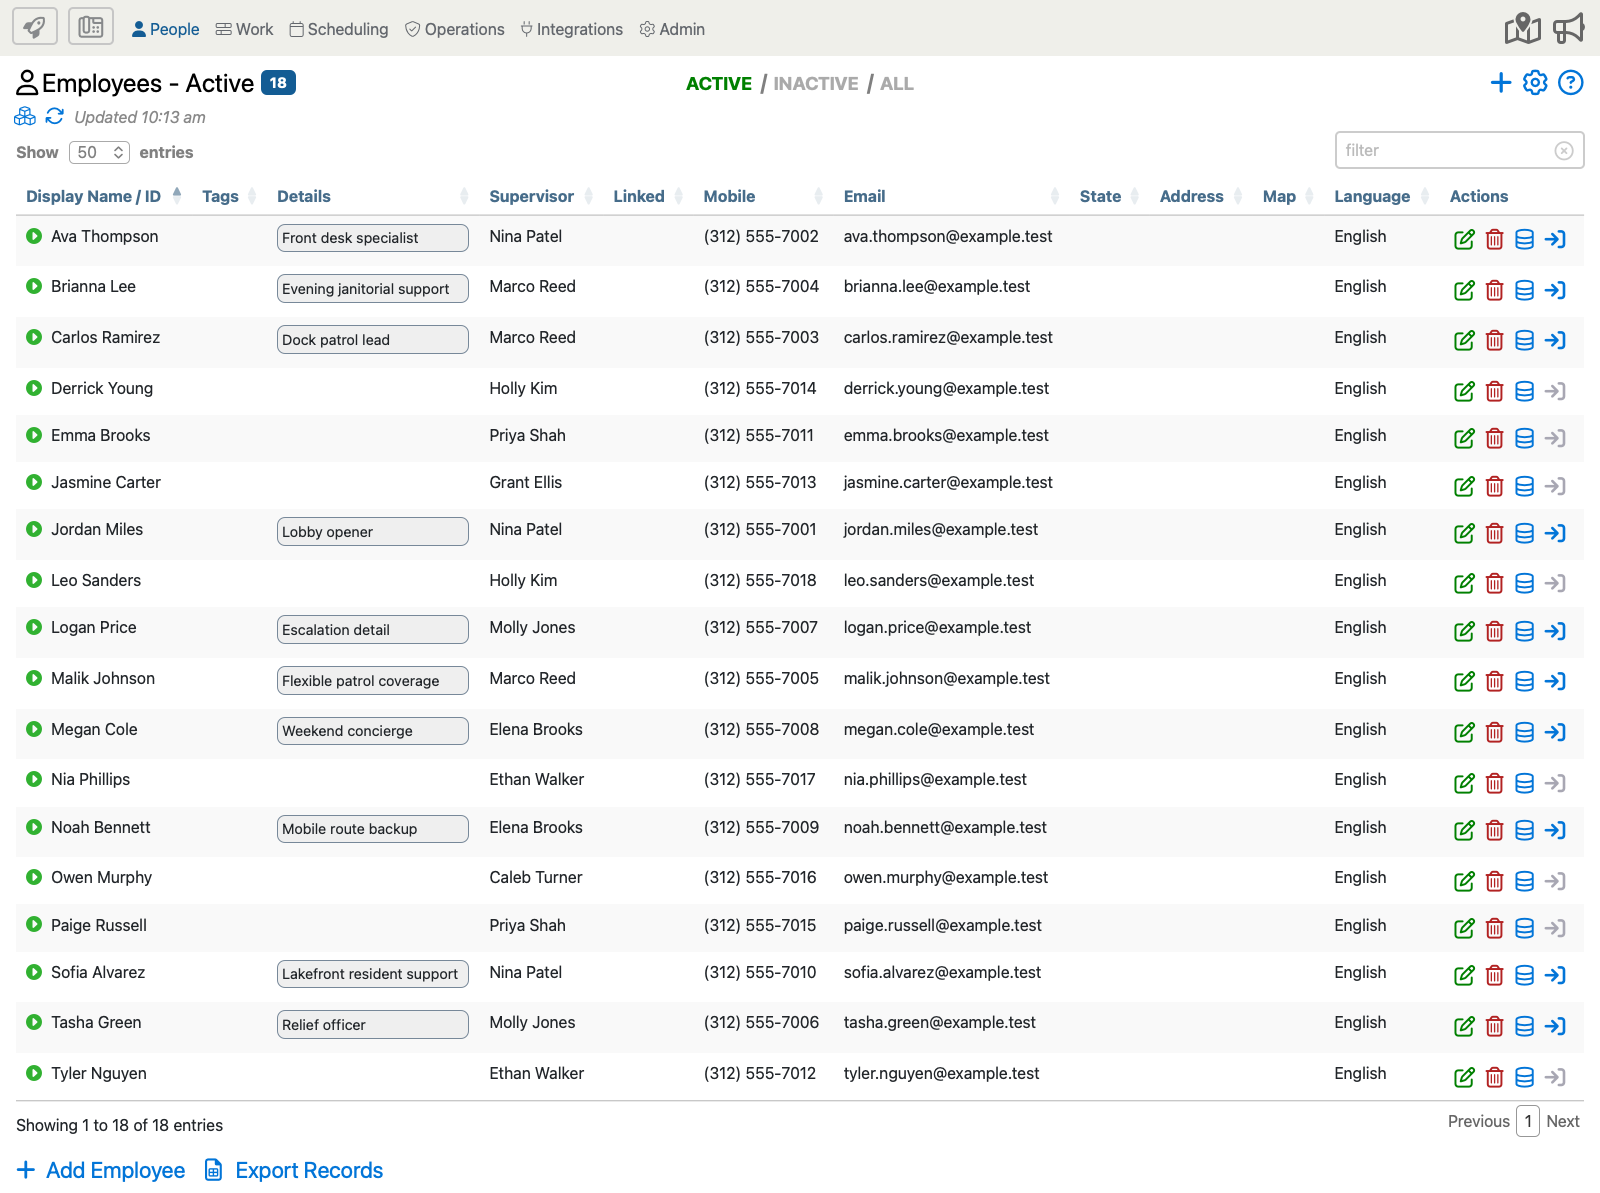
Start from People > Employees. You can open Add Employee from either the small blue plus icon  in the upper-right page controls or the larger + Add Employee button at the bottom of the Employees page.
When the Add Employee form opens, review the full page below from top to bottom. Use the blue i markers to jump to details about the visible fields, advanced options, and employee-specific controls.

This example shows the fullest version of the form. Depending on how your company is set up, you may see fewer options or additional payroll, accounting, travel, or onboarding fields.
Option Descriptions
Basic Employee Information
First Name
Enter the employee's first name as it should appear in portal lists, schedules, and notifications.
Last Name
Enter the employee's last name. Together with the first name, this helps the system build the default display name.
Display Name
This is the main name shown throughout the portal. It auto-fills from the first and last name, but you can customize it when two employees have similar names or when the person uses a different everyday name.
Employee Supervisor
Assign the supervisor who should own the employee record for daily oversight, filtering, and permissions-based workflows.
Phone Number
Use the employee's primary work or personal phone number based on how your company handles clock-in, texting, and employee communication.
Language
Select the language the employee should hear and see when supported prompts, messages, or app guidance are delivered.
Tags
Use tags for searchable labels such as role, certification, site assignment, region, or union grouping.
Address
Store the employee's address only when your company uses location-aware scheduling, travel limits, or proximity-based assignment workflows.
Advanced Employee Setup
Employment Status
Use this field when office staff need to track whether the employee is active, on leave, seasonal, or otherwise in a special employment state.
Employment Status Notes
Use this notes field to capture status details that matter to office staff, such as return timing, leave notes, or internal classification reminders.
Supervisor Group
Some companies also use Supervisor Groups. When this option appears, use it to let a management group oversee the employee instead of relying only on one named supervisor.
External ID
Use External ID when the employee should line up with a payroll ID, HR number, or another outside-system identifier.
Station PIN
This PIN is used for timeclock stations and kiosk-style clock-in workflows. It is separate from the employee's phone number and any outside payroll ID.
Employee Details
Use this area for employee-specific notes that supervisors or office staff may need to reference later.
Department
Use departments when your company groups employees by business unit, service line, office, or another internal structure.
Start Date
Store the employee's start date when your company tracks employment timelines, onboarding, or anniversary-based reminders.
Birthday
This field is optional. Use it only when your company keeps birthday information as part of the employee record.
Anniversary
Use this when your company tracks work anniversaries, milestone reminders, or service-based recognition.
ADP IVR Fields
Some ADP-connected companies may also see fields such as badge, profile, or PIN values for phone workflows. Use those only when your ADP-connected setup depends on them.
Travel And Scheduling
Maximum Commute Range
Use this field when your company wants to limit or guide which jobs should be offered to an employee based on expected travel distance.
Enable Travel Tracking
Turn this on only for employees who should generate travel activity in the system during the workday.
Max Hours Daily
Use this scheduling rule when the employee should not be scheduled beyond a daily hours limit.
Max Shifts Daily
Use this when the employee should be limited to a certain number of shifts in one day.
Max Hours Weekly
Use this scheduling limit when weekly hours should stay below a fixed threshold.
Max Days Weekly
Use this when the employee should not be scheduled on more than a set number of days in one week.
Payroll And Messaging
Base Pay Rate
Use this value when the employee should have a default pay rate for time entries that do not already have a more specific job-level rate.
ADP Base Pay Rate
ADP-connected accounts may show an ADP-managed base pay rate instead of a manually editable rate field.
Home Tax Location
Some payroll-connected companies may use a Home Tax Location field when employee-level tax mapping is required.
Send Texts From
When your company has more than one text-capable number, this option can control which number the employee receives texts from.
Status And Miscellaneous Options
Employee Active / Inactive Status
Use this setting to keep current employee lists clean without deleting history. Active employees stay available for daily use, while inactive employees are hidden from normal working lists.
Highlight Color
Use the highlight color only when your company color-codes employees in lists or related views.
Enable GPS Requests For IVR
Turn this on only when the employee should be prompted for GPS location as part of supported IVR workflows.
Enable Voice Fingerprints For IVR
Use this only when your company uses voice-based identity controls for phone clock-in or other IVR workflows.
Exempt Employee From Onboarding
Use this when the employee should skip the normal onboarding flow because they are already fully set up or do not need the standard onboarding steps.
Save The New Employee
- Complete the basic identity and contact fields first.
- Use advanced, payroll, and travel options only when your company actively depends on them.
- Save the record, then return to People > Employees to confirm the new employee appears in the expected list.