The Add Job form is where you create the work records that employees clock into and that schedules, reports, notifications, billing, payroll, maps, and employee instructions can reference later.
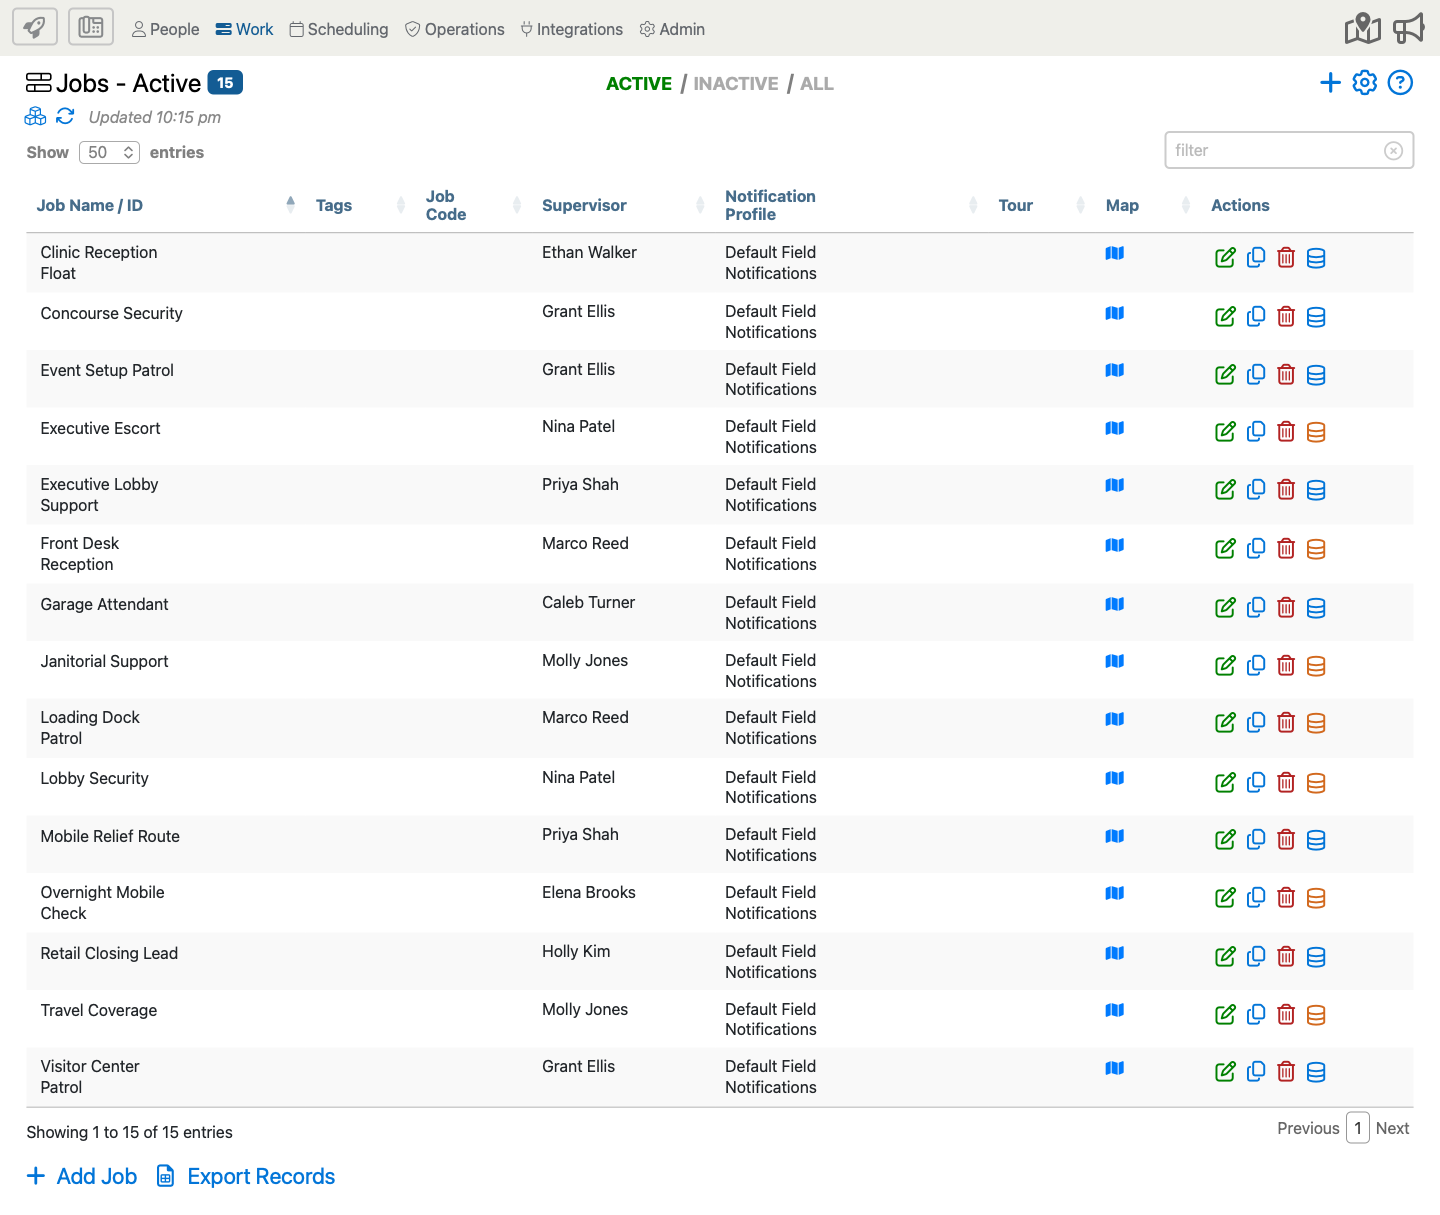
Start from Work > Jobs. You can open Add Job from either the small blue plus icon  in the upper-right page controls or the larger + Add Job button at the bottom of the Jobs page.
When the Add Job form opens, review the full page below from top to bottom. Use the blue i markers to jump to details about specific fields, settings, and optional sections.

This example shows the full Add Job form. Some fields may not appear in your account, depending on how your company is set up and whether features such as QuickBooks, ADP, separate job sites, call-center checkpoints, or multi-day jobs are enabled.
Option Descriptions
Basic Information
Job Code
This field appears when your company uses job codes. The code can be used for phone clock-in, schedule matching, reporting, and outside-system mapping, so keep it short and easy to recognize.
Job Name
This is the main label that supervisors and office users will see throughout the portal. Use a name that clearly identifies the site, post, route, or assignment.
Sort Prefix
If your company enables sort prefixes, this field gives you a manual way to control how the job sorts in long job lists and schedule views. Use it only when your team has an established sorting convention.
Job Site
When your company keeps Jobs and Job Sites separate, the form can show a required Job Site selector instead of the merged supervisor, timezone, and address block. Use it to attach the job to the correct site record before you continue with the rest of the job settings.
Job Site Supervisor
Assign the supervisor responsible for this job when your company uses supervisor-based ownership. This can affect who sees the record, which jobs appear on supervisor-focused reports, and how permissions are applied.
Timezone
Select the timezone where the work actually happens. Schedule timing, notifications, and time review all depend on this being correct.
Street Address And Location
Use the address fields to store the job site location. Accurate location details help with maps, GPS review, reporting, and employee guidance.
Set Address Using Map Pin
Turn this on when the exact work area is better represented by a map point than by a street address. This is helpful for large campuses, wide outdoor sites, and other jobs where employees clock in from a spot that does not line up well with the mailing address.
Tags
Tags make jobs easier to group and filter later. Use them for labels such as region, client type, service line, or operational team.
Advanced Job Setup
External ID
Use this when the job needs to line up with a record in payroll, accounting, importing, or another outside system. If your company syncs with another platform, this field may already follow an established naming rule.
Supervisor Group
Some companies also expose a Supervisor Group field. When available, it is used to assign the job to a supervisor-group workflow instead of relying only on one named supervisor.
Job Site Details
Use this field for location-specific notes that help identify the site itself. It is useful for gate codes, entry instructions, building notes, or site reminders.
Job Details
Use this for assignment-specific instructions instead of physical site notes. This is the better place for expectations about the work, service requirements, or responsibilities attached to the job.
Notification Profile
Select the notification rules that should apply to the job. This is how a job can inherit alert behavior for late check-ins, missed shifts, or other event-driven messaging.
Tour
If tours are enabled for your company, use this field to connect the job to the correct checkpoint tour. Leave it blank when the job does not participate in a tour workflow.
Dispatcher Checkpoints / Outbound Call Interval
When call-center checkpoints are enabled, the form can show an Outbound Call Interval field under a Dispatcher Checkpoints heading. Use it only when the job should generate a repeating outbound checkpoint or call cadence.
Unpaid Break Options
Use Unpaid Break Length and Auto-apply Break when the job should automatically subtract unpaid break time after a minimum number of worked hours. This is for built-in job break rules, not employee-initiated break activity.
Break Length
Use this field to set the unpaid break length the job should deduct automatically. Fill it in only when the job has a standard unpaid break rule that should apply across time entries and schedules.
Auto-Apply Break
This field controls how long someone must work before the unpaid break should be deducted. Leave it blank when the break should always apply, or fill it in when the deduction should wait until the employee has worked the required minimum time.
Billing, Payroll, And Accounting
Client And Vendor Options
Use these fields when the job needs to connect to a client, customer, or vendor for reporting, billing, or downstream processing.
Client / Customer
Use this when the job belongs to a specific client or billing customer. It helps keep scheduling, reporting, billing, and downstream exports tied to the correct customer record.
Vendor
Use this when the job is fulfilled through a vendor relationship or should route through vendor-based downstream workflows. Leave it blank when the job is managed entirely inside your own organization.
Bill / Pay Rate Options
When bill and pay rates are enabled, the job can store default employee, client, or vendor rate values. These defaults can affect reporting, payroll, and billing workflows, so they should only be filled in when your company actively uses rate-based processing.
Base Employee Pay Rate
Use this field when the job should carry a default employee pay rate for payroll or reporting. Leave it blank when employee pay is determined somewhere else in your process.
Base Client Bill Rate
Use this when the job should carry a default billing rate for client-facing reports or invoicing workflows. Fill it in only when your company actively bills by job-based rates.
Base Vendor Pay Rate
Use this when the job needs a default vendor rate for outsourced work, vendor payroll, or vendor reporting. Leave it blank when vendor rate handling happens outside the portal.
Budgeted Time And Related Accounting Fields
Use Budgeted time for this job when the job should be measured against a scheduled labor budget. If budgeted time is filled in, the form can also show a Budget Adjustment Rule selector so your company can decide how overage should be interpreted downstream.
Budget Adjustment Rule
This field appears only after a budgeted time value is entered. It controls how the system should treat over-budget time for the job, so it should follow your company’s established budgeting rule instead of ad hoc supervisor preference.
ADP Options
If your company is integrated with ADP, the form can show Department Code and Rate Code selectors. Use those only when your payroll export or labor mapping process depends on ADP-specific job coding.
QuickBooks Options
QuickBooks-connected companies can see one or more of these fields: Customer, Vendor, and Service Item. Use them when the job must map cleanly into your accounting workflow, and leave them blank when the job does not need QuickBooks-specific routing.
QuickBooks Customer
Select the QuickBooks customer when the job should map to a customer record in your accounting workflow. This is helpful when exported labor or billing needs to land under the right customer automatically.
QuickBooks Vendor
Select the QuickBooks vendor when the job should be associated with a vendor record in your accounting process. Leave it blank when the job does not use vendor-based QuickBooks routing.
QuickBooks Service Item
Use this when the job should map to a specific QuickBooks service item for invoicing or accounting exports. Choose the item your accounting team expects for this kind of work.
General Payroll Options
The form can also show payroll-specific fields such as Work Tax Location and NCCI Code. These should be filled in only when your payroll or compliance process requires job-level tax or classification mapping.
Work Tax Location
Use this field when payroll tax handling depends on the specific work location of the job. It should follow your payroll team’s established location mapping, not ad hoc supervisor preference.
NCCI Code
Use the NCCI code when your workers’ compensation or payroll compliance process classifies jobs by NCCI code. Choose the code that matches the actual type of work performed at the job site.
Cost Center
Use this field when your accounting or payroll process groups work by cost center. If your company does not report on cost centers, you can leave it blank.
Operational Controls
Miscellaneous Options
This section includes operational controls such as highlight color, active status, photo requirements, QR check-in or check-out requirements, landline linking, and, for some companies, Enable multi-day job. Turn on only the controls your company expects employees or supervisors to follow for this job.
Highlight Color
Use the highlight color when your company color-codes jobs in scheduler or list views. Pick a color only when it helps office staff recognize this job more quickly.
Mark Job Active
Leave this on when the job should be available for normal use in scheduling, clock-in, and reporting. Turn it off when the job should remain on file but stop participating in day-to-day activity.
Enable Multi-Day Job
Use this when the job should support work that spans more than one day. Turn it on only when your company intentionally uses multi-day jobs in scheduling or time-entry workflows.
Require Photo Check In
Turn this on when employees must take a photo at clock-in for this job. Use it only when your company expects photo verification as part of the job’s attendance process.
Require QR Code Check In
Use this when employees must scan a QR code to check in to the job. Turn it on only when the job site actively uses QR-based attendance verification.
Require Photo Checkpoints
Turn this on when checkpoint activity for the job must include photo verification. This is useful only when your checkpoint workflow depends on visual proof at each stop.
Require Photo Check Out
Use this when employees must take a photo when they check out of the job. This is typically used only when your company requires visual confirmation at both the start and end of the shift.
Require QR Code Check Out
Turn this on when employees must scan a QR code to check out of the job. Use it only when the site follows a QR-based clock-out process in addition to or instead of QR check-in.
Linked Numbers
If landline linking is enabled, the form can show Only allow linked numbers, a list of Current Landline Phone Numbers, and a Link Landline Phone Number entry area. Use this only when phone clock-in must be restricted to fixed site numbers.
Link Job Site To Landline Numbers
Turn this on when the job should be tied to specific landline phone numbers for phone clock-in. Use it only when your company manages approved site phone numbers for the job location.
Only Allow Linked Numbers
Use this when phone clock-in should be accepted only from the linked landline numbers for the job. Leave it off when employees may clock in from other approved methods or numbers.
Current Landline Phone Numbers
When landline linking is turned on, this list shows the phone numbers already approved for the job. Review it to confirm the job is tied to the right site phones and remove outdated numbers before employees rely on them for phone clock-in.
Link Landline Phone Number And Add Number
Use the Link Landline Phone Number field to enter another approved site phone number, then choose Add Number to attach it to the job. This is useful when the same job can be worked from more than one fixed landline location.
Job Instructions
Use Job Instructions to store employee-facing instructions, post orders, or attached reference files for the job. Supported file uploads include common document and image types, so this section should stay focused on guidance employees need while working the assignment.